
Add Ticketed Items/Options to an Event
This guide walks you through the process of adding ticketed items and options to events. Learn how to navigate to your event page, access the event editor, create new ticket items with custom fields, and set up item options like meal choices. Perfect for event organizers who need to configure attendee selections and ensure all required information is collected during registration.
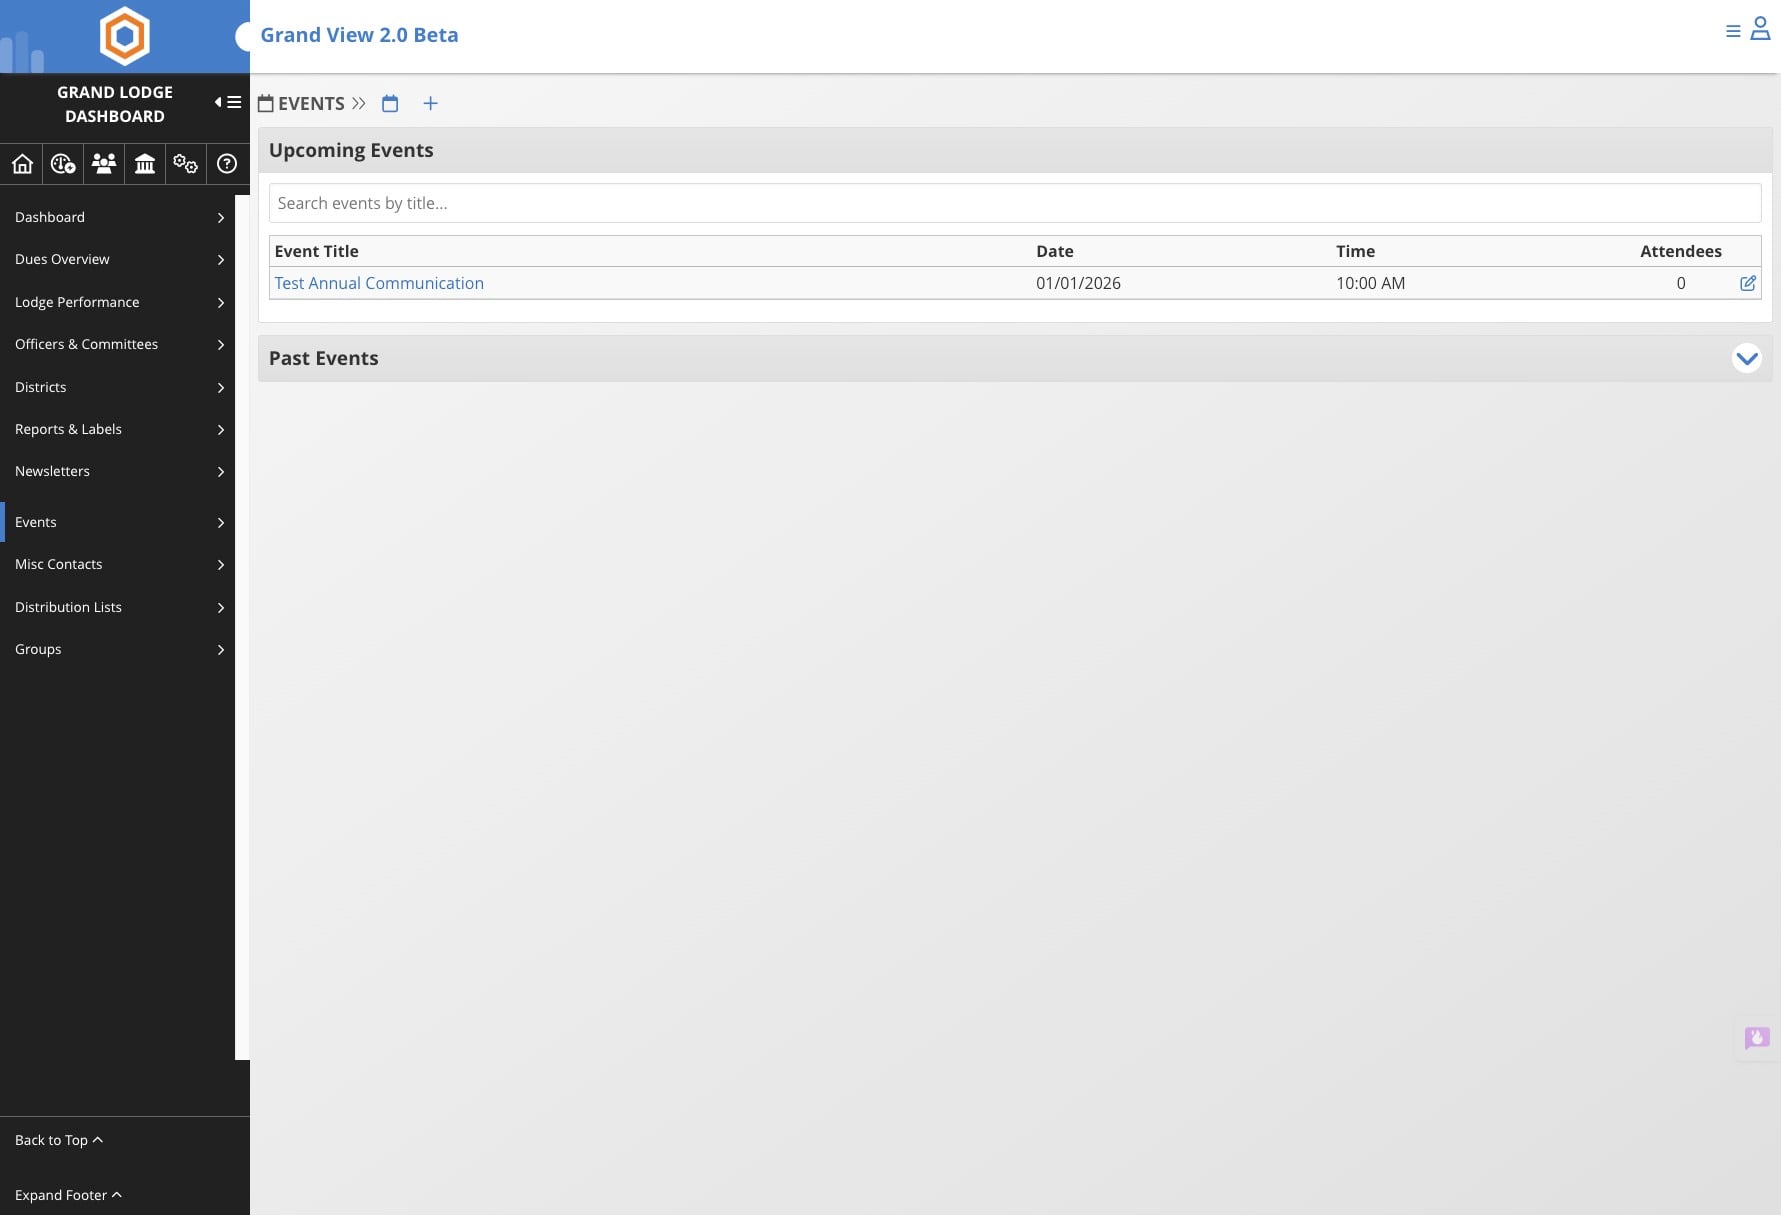
Navigate to your event page
Click on the event you wish to add items to
Click on the edit pencil icon
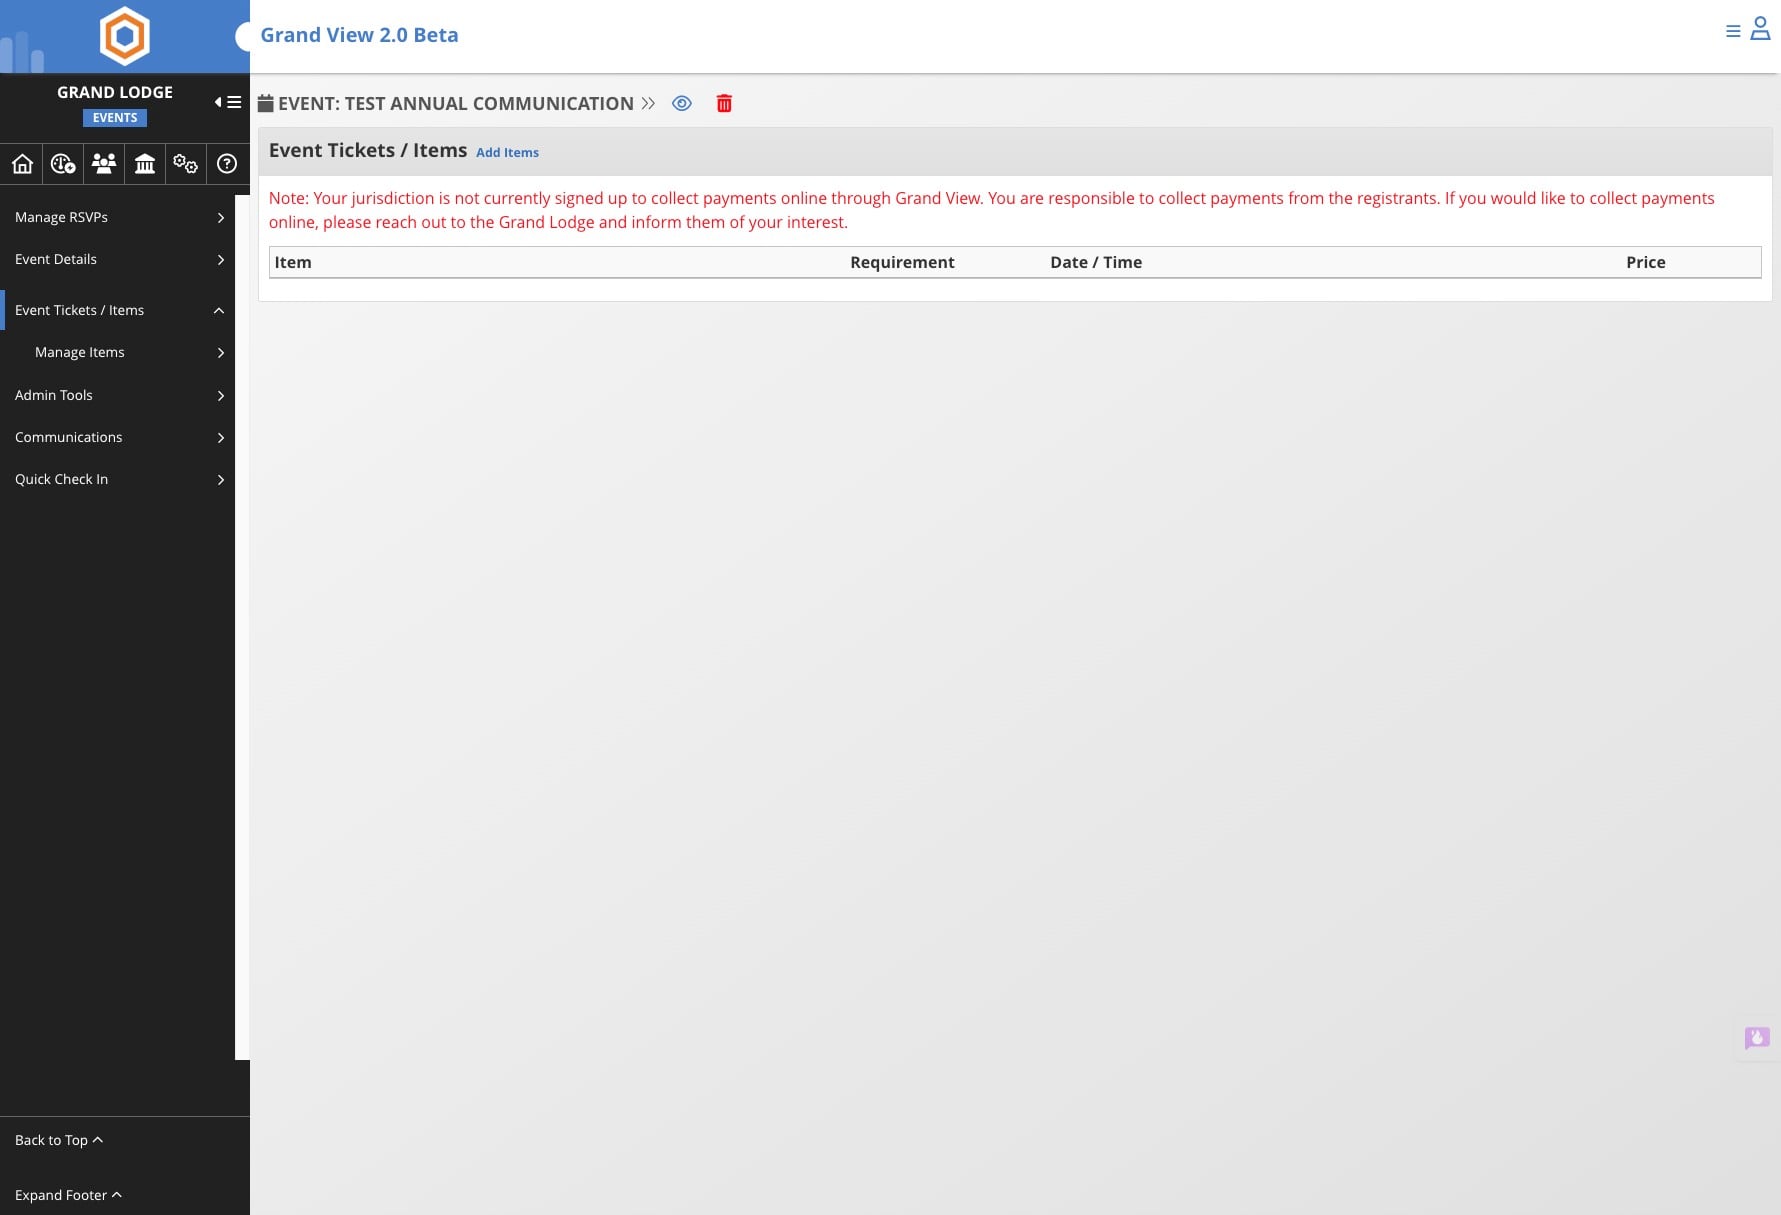
Click on "Event Tickets / Items"

Click on "Add Items"
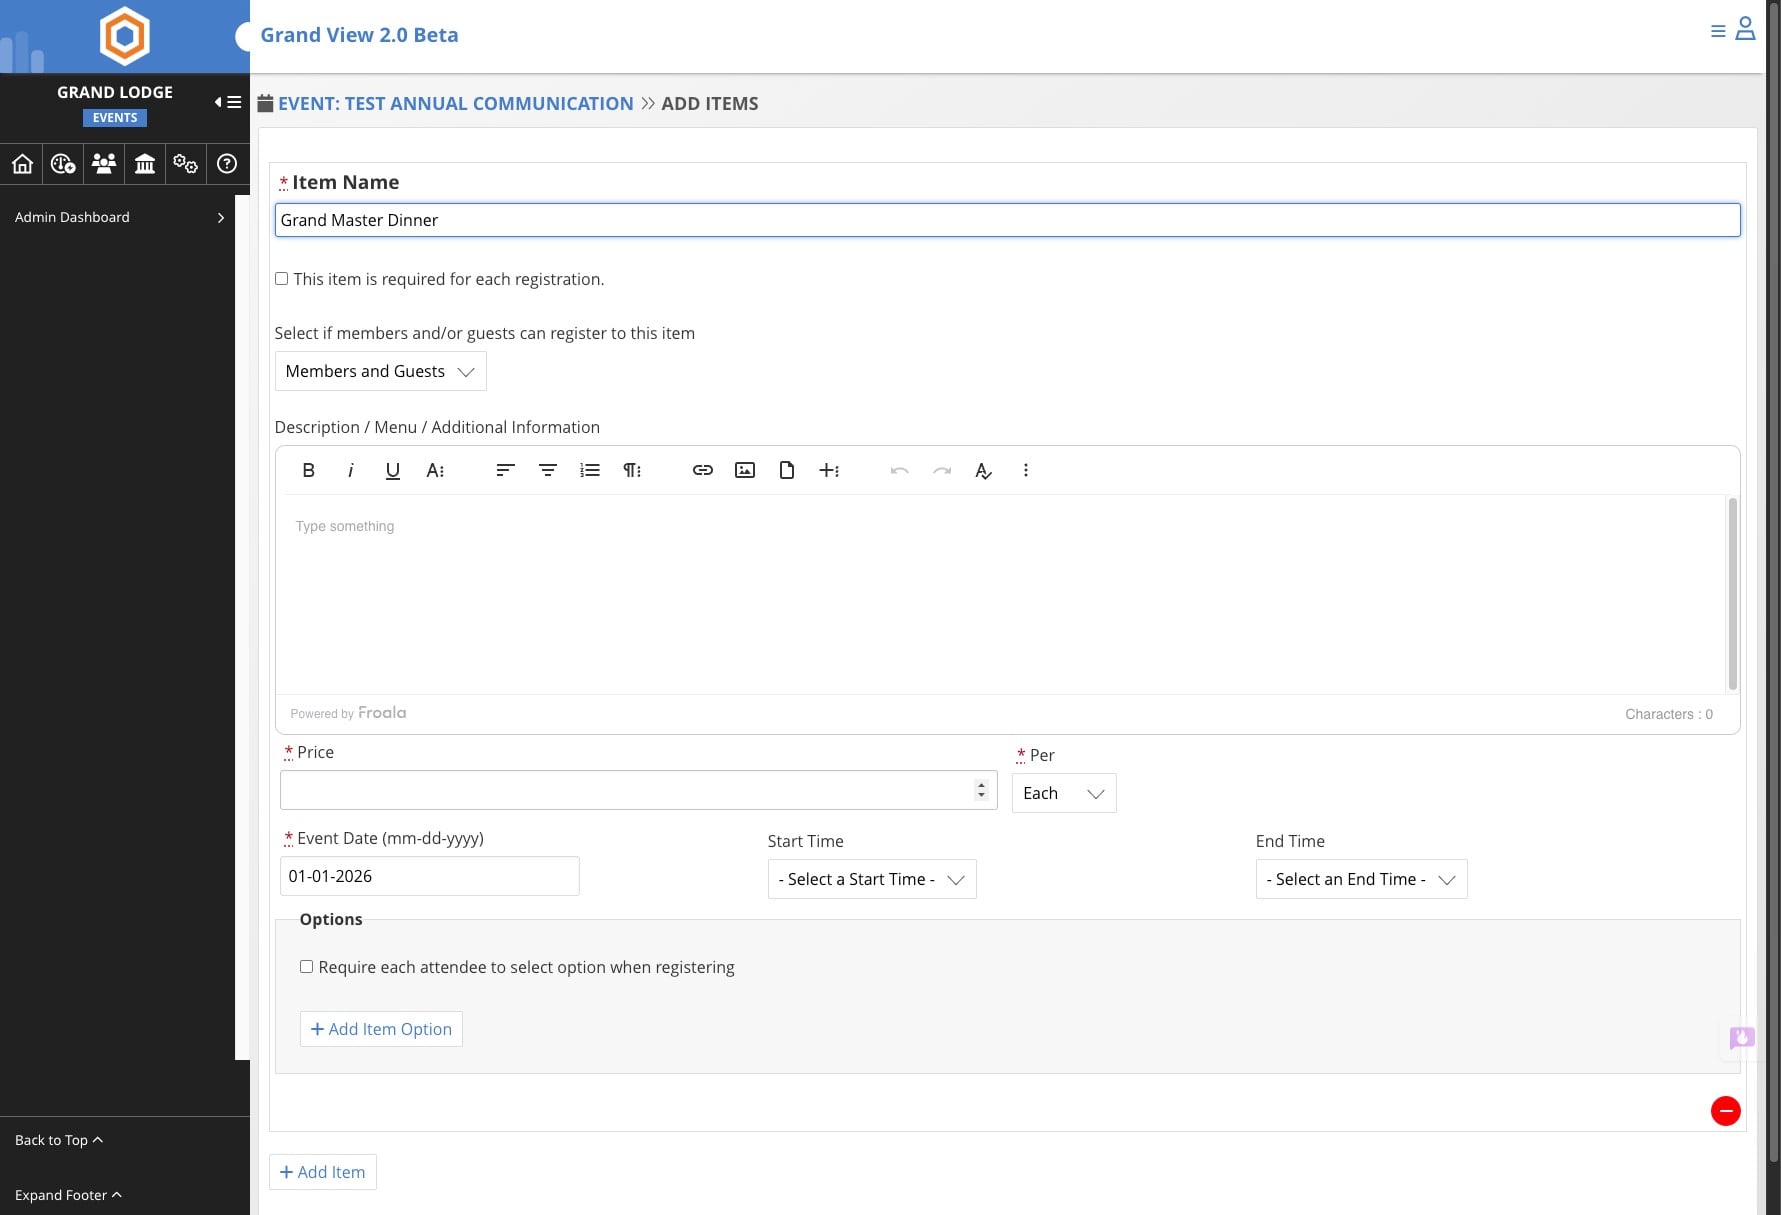
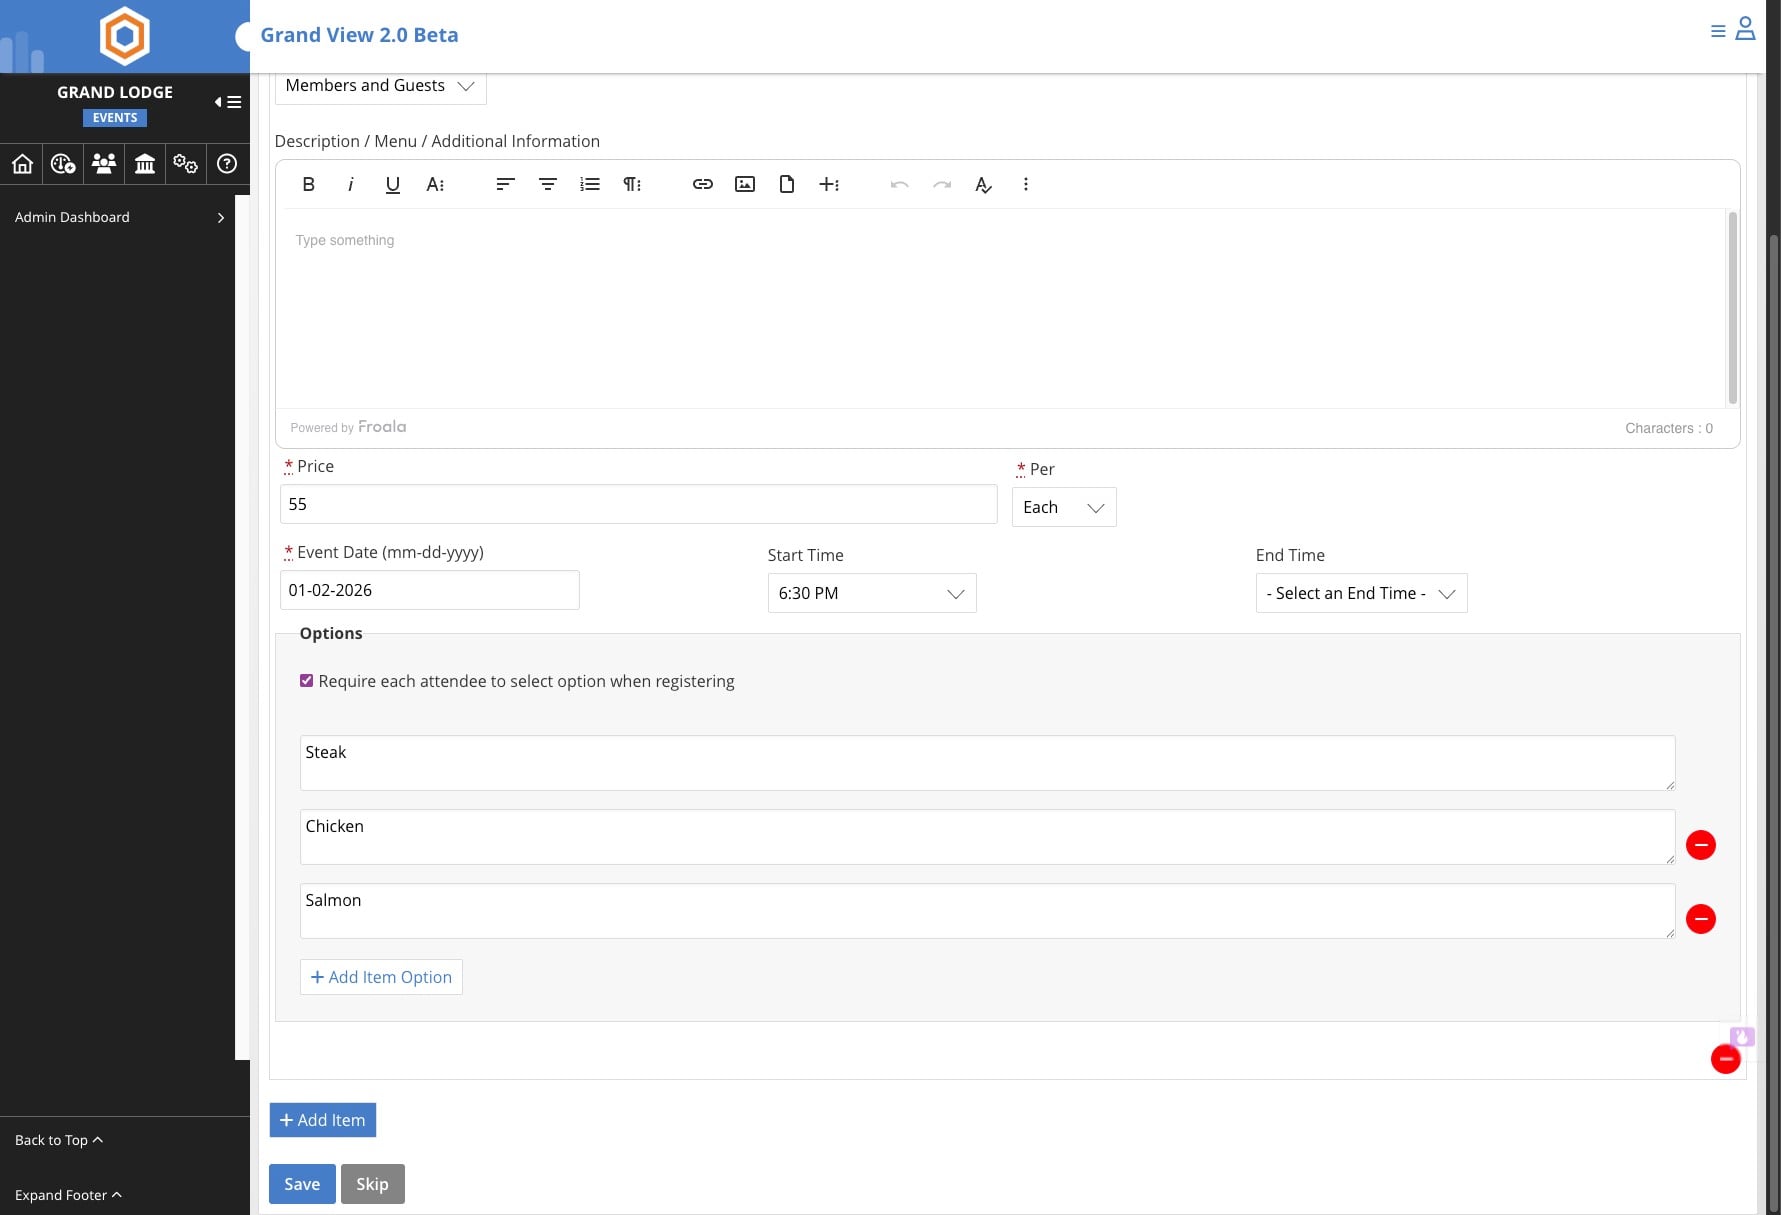
Enter in the item name
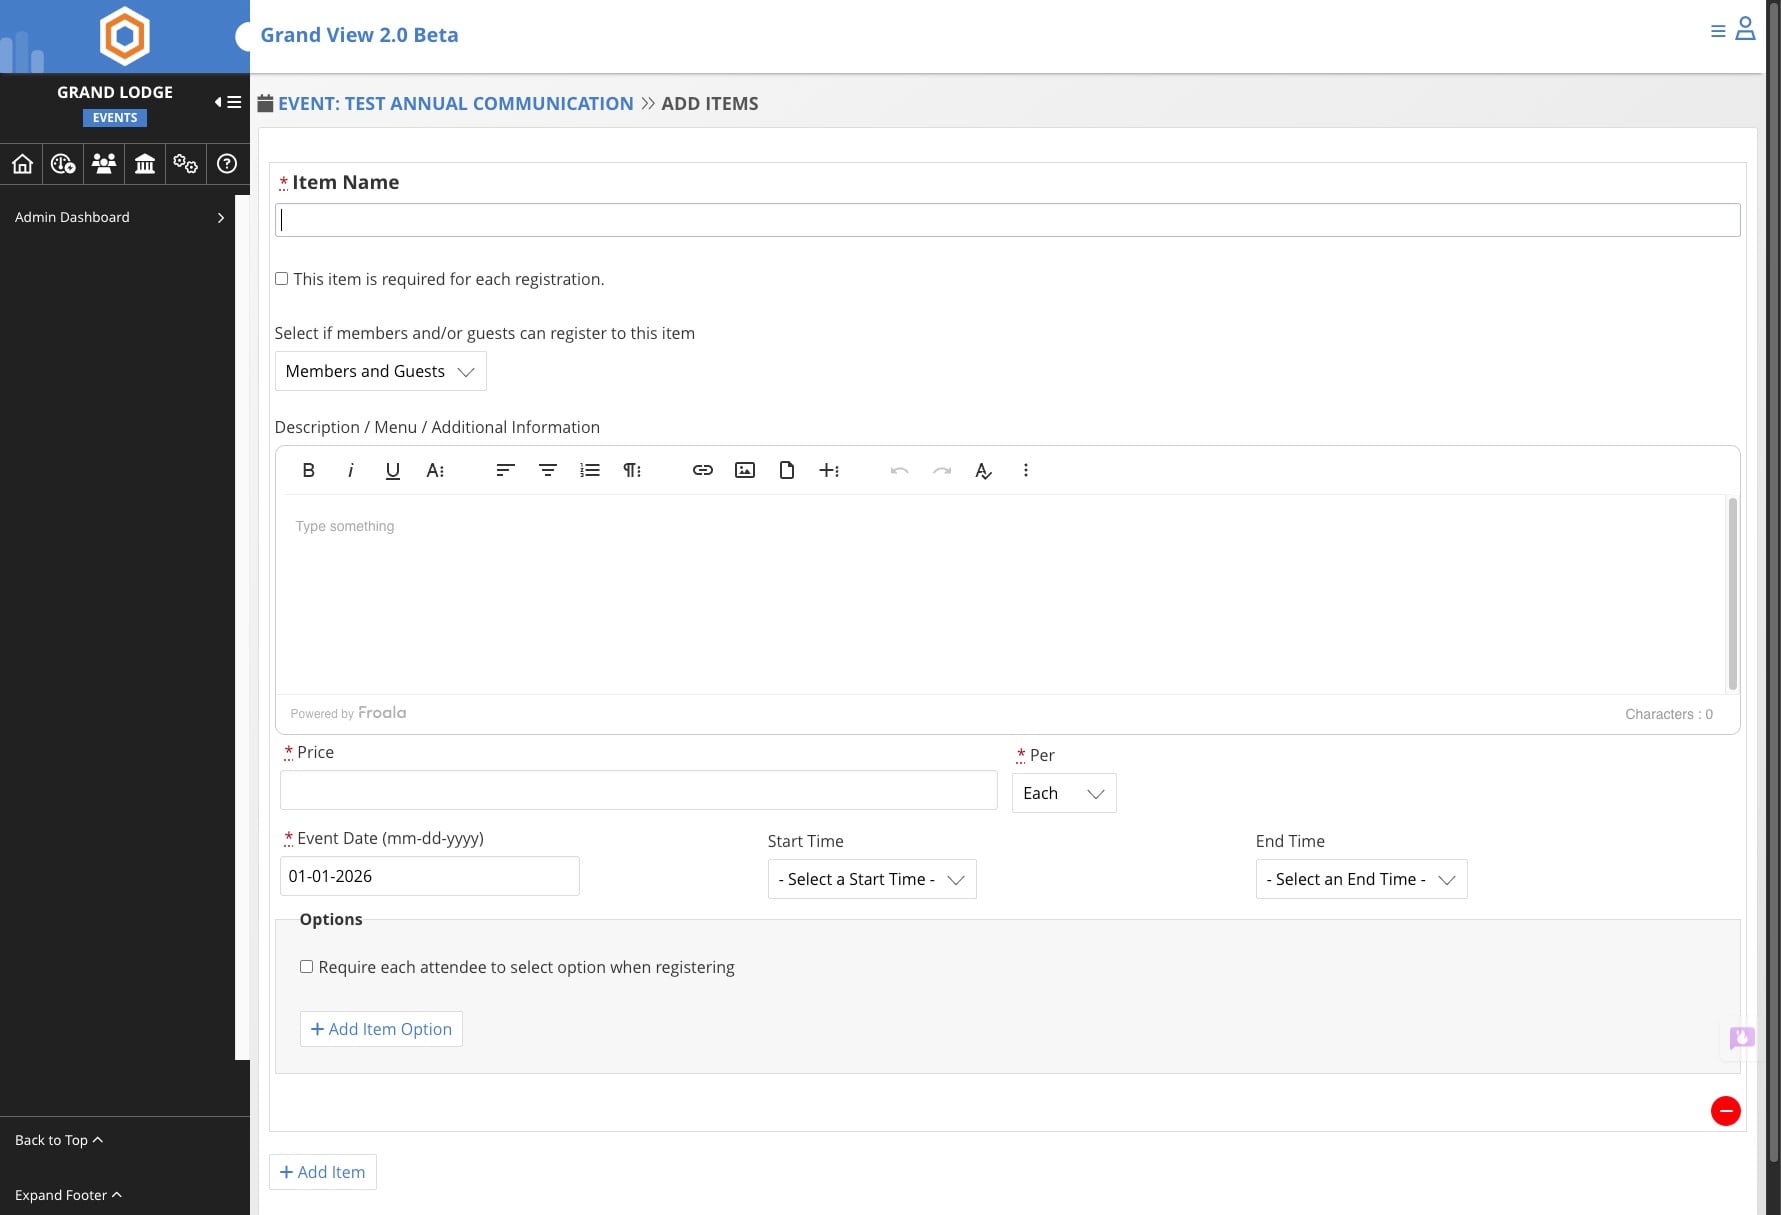
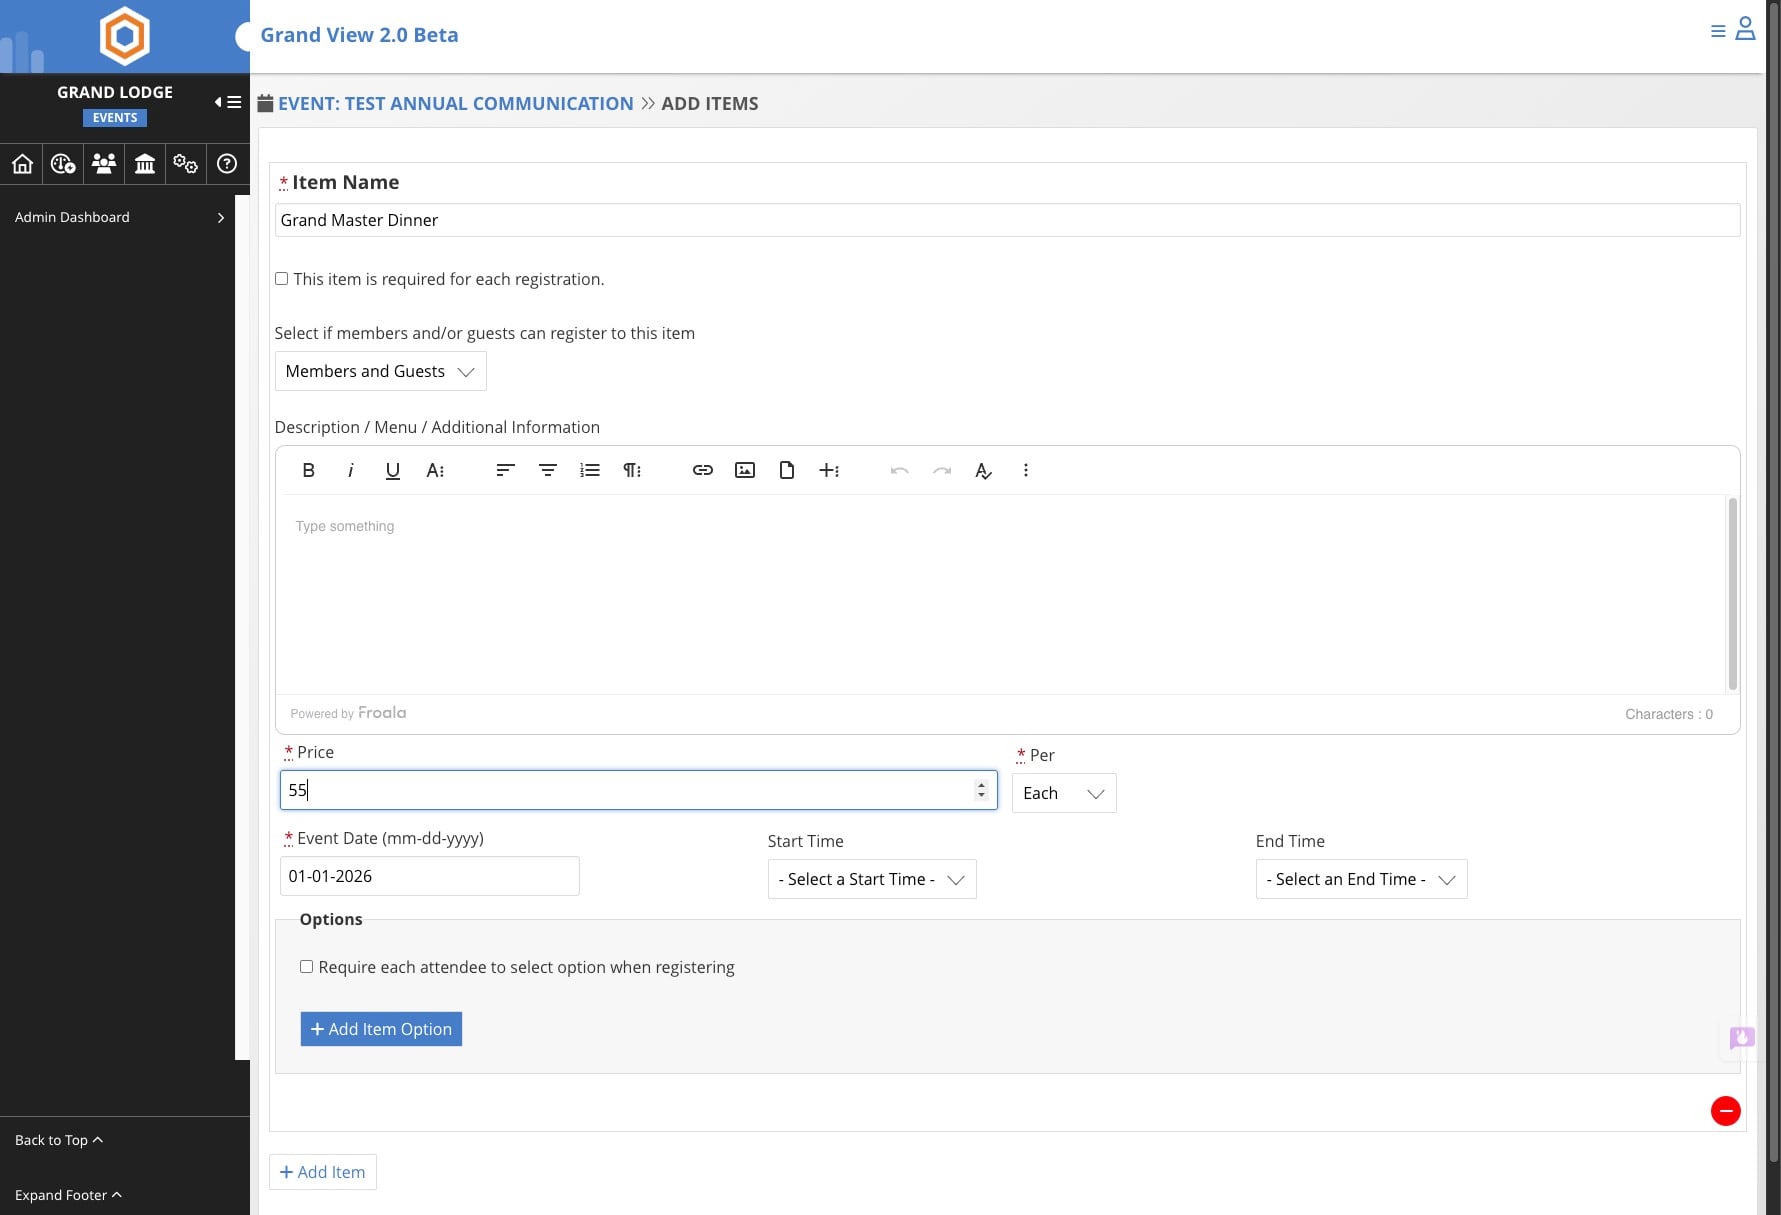
Add any information for the item. Fields marked with an asterik ( * ) are required
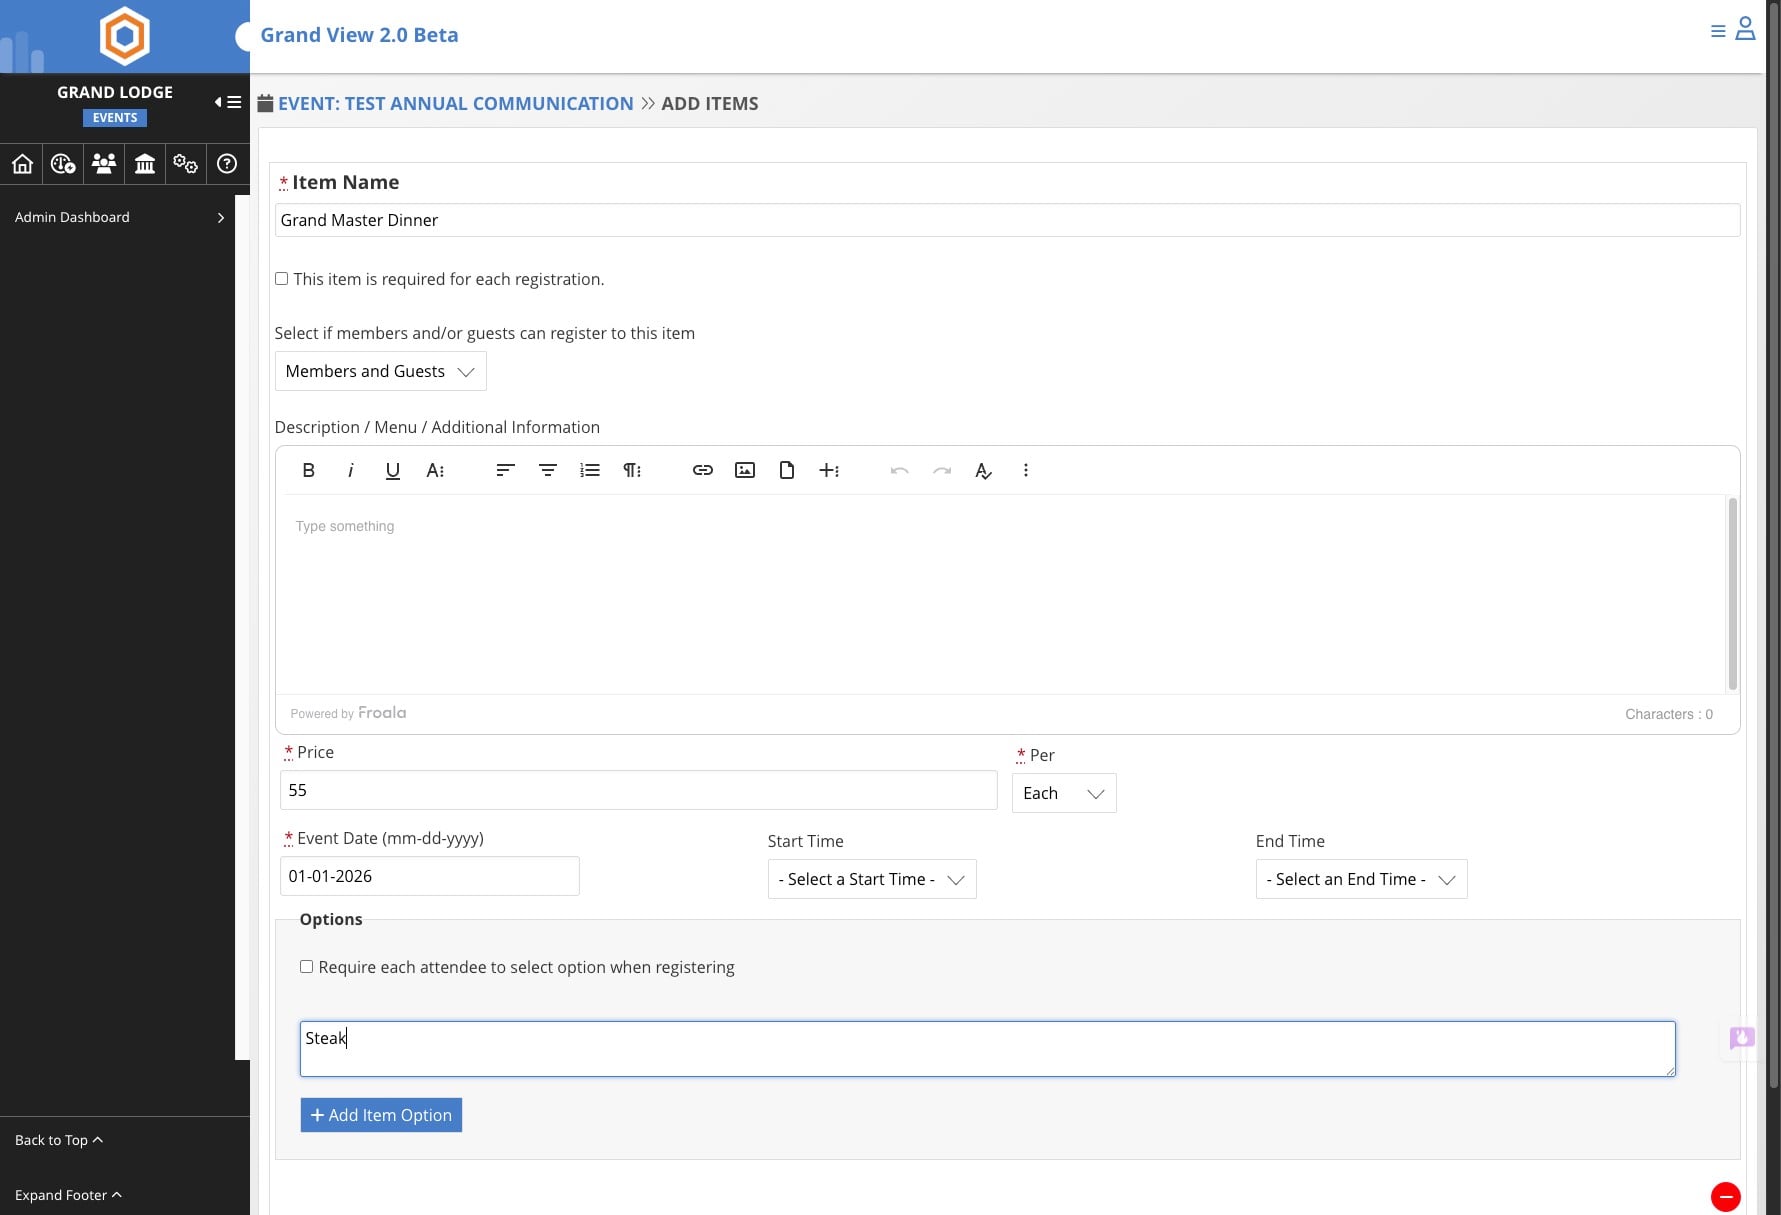
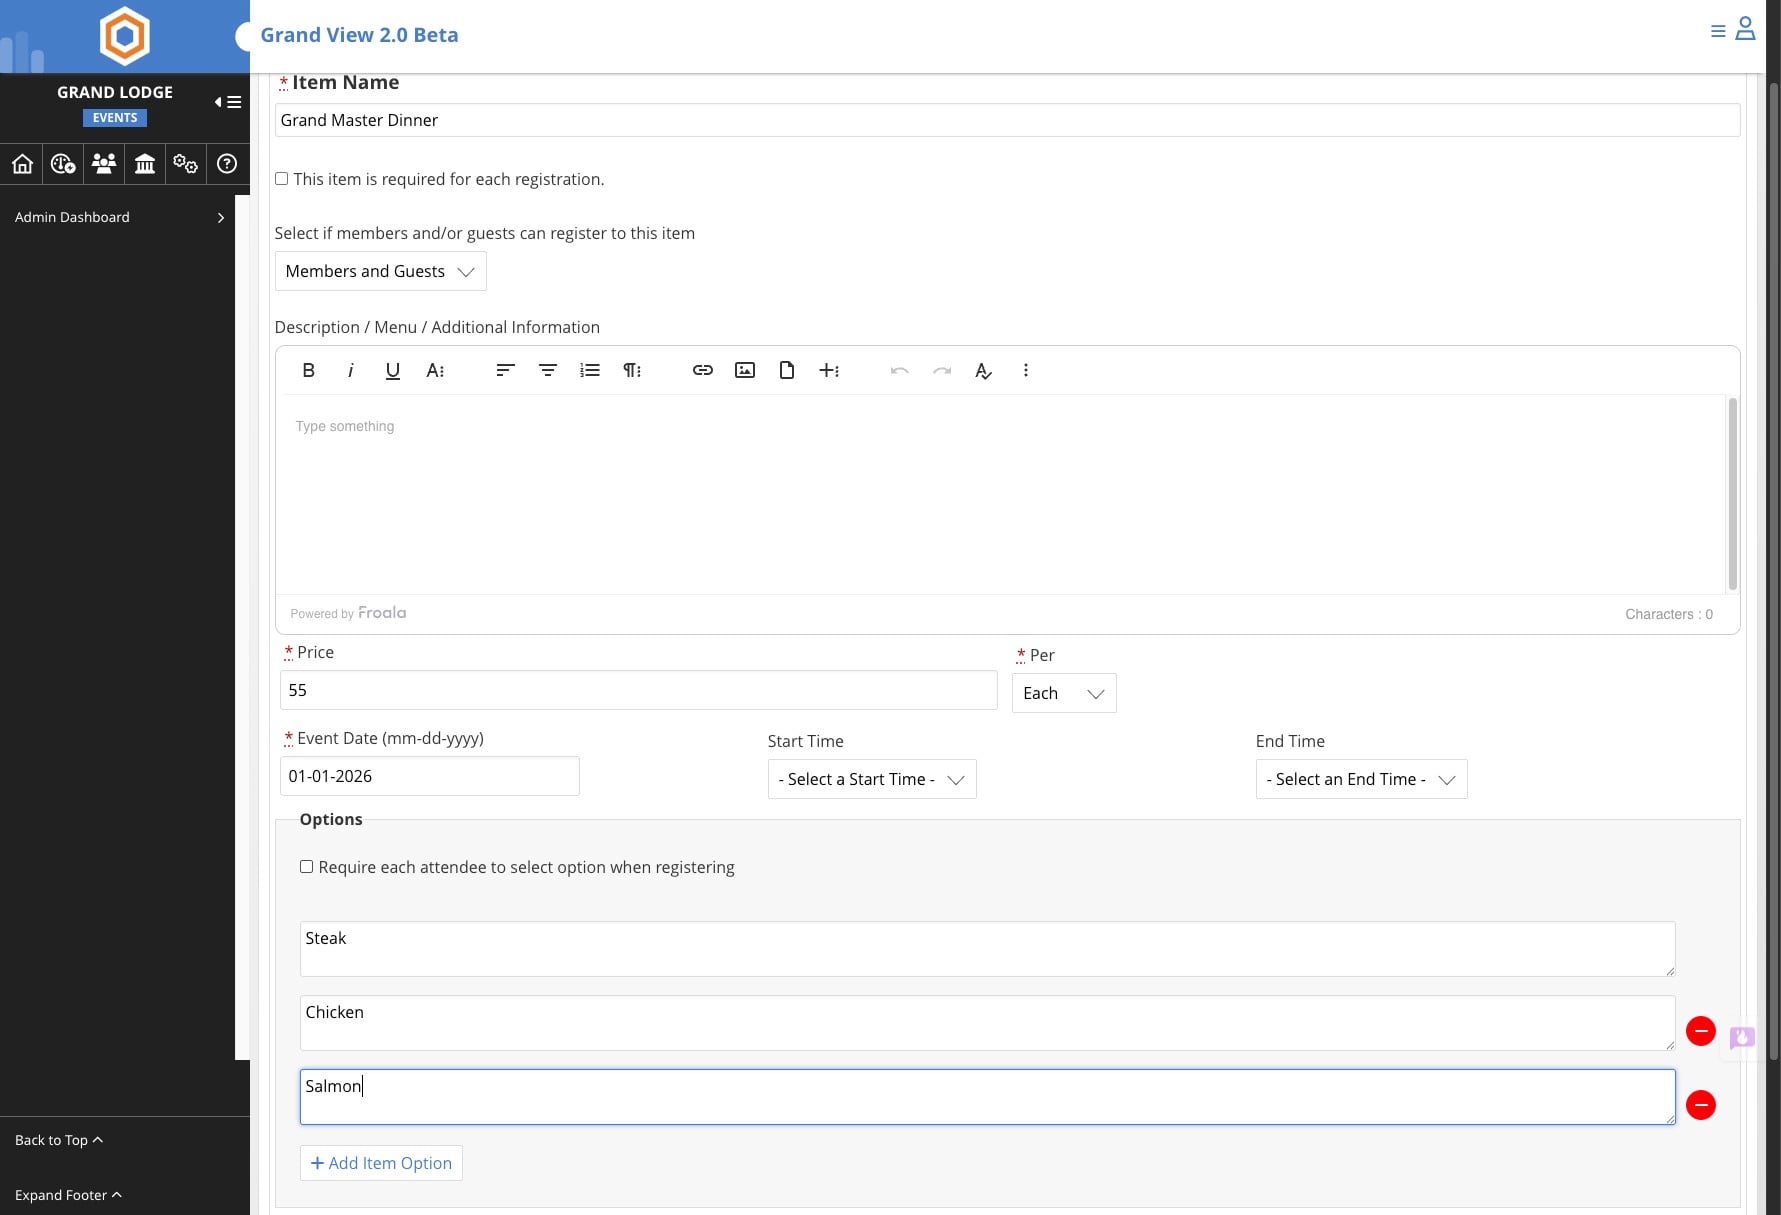
Add options for the item, this is helpful for meal choices
Enter options, click on Add Item Option to add more
Check the Require each attendee to select and option which will ensure you have a selection for meal options.
You can add additional items
Repeat the earlier steps to set up the additional items

Done 🚀