Create a Resource with Attachments
Add a new resource an existing resource group and attach files to it in Grand View 2.0. The completed resource is saved and available under User Resources.
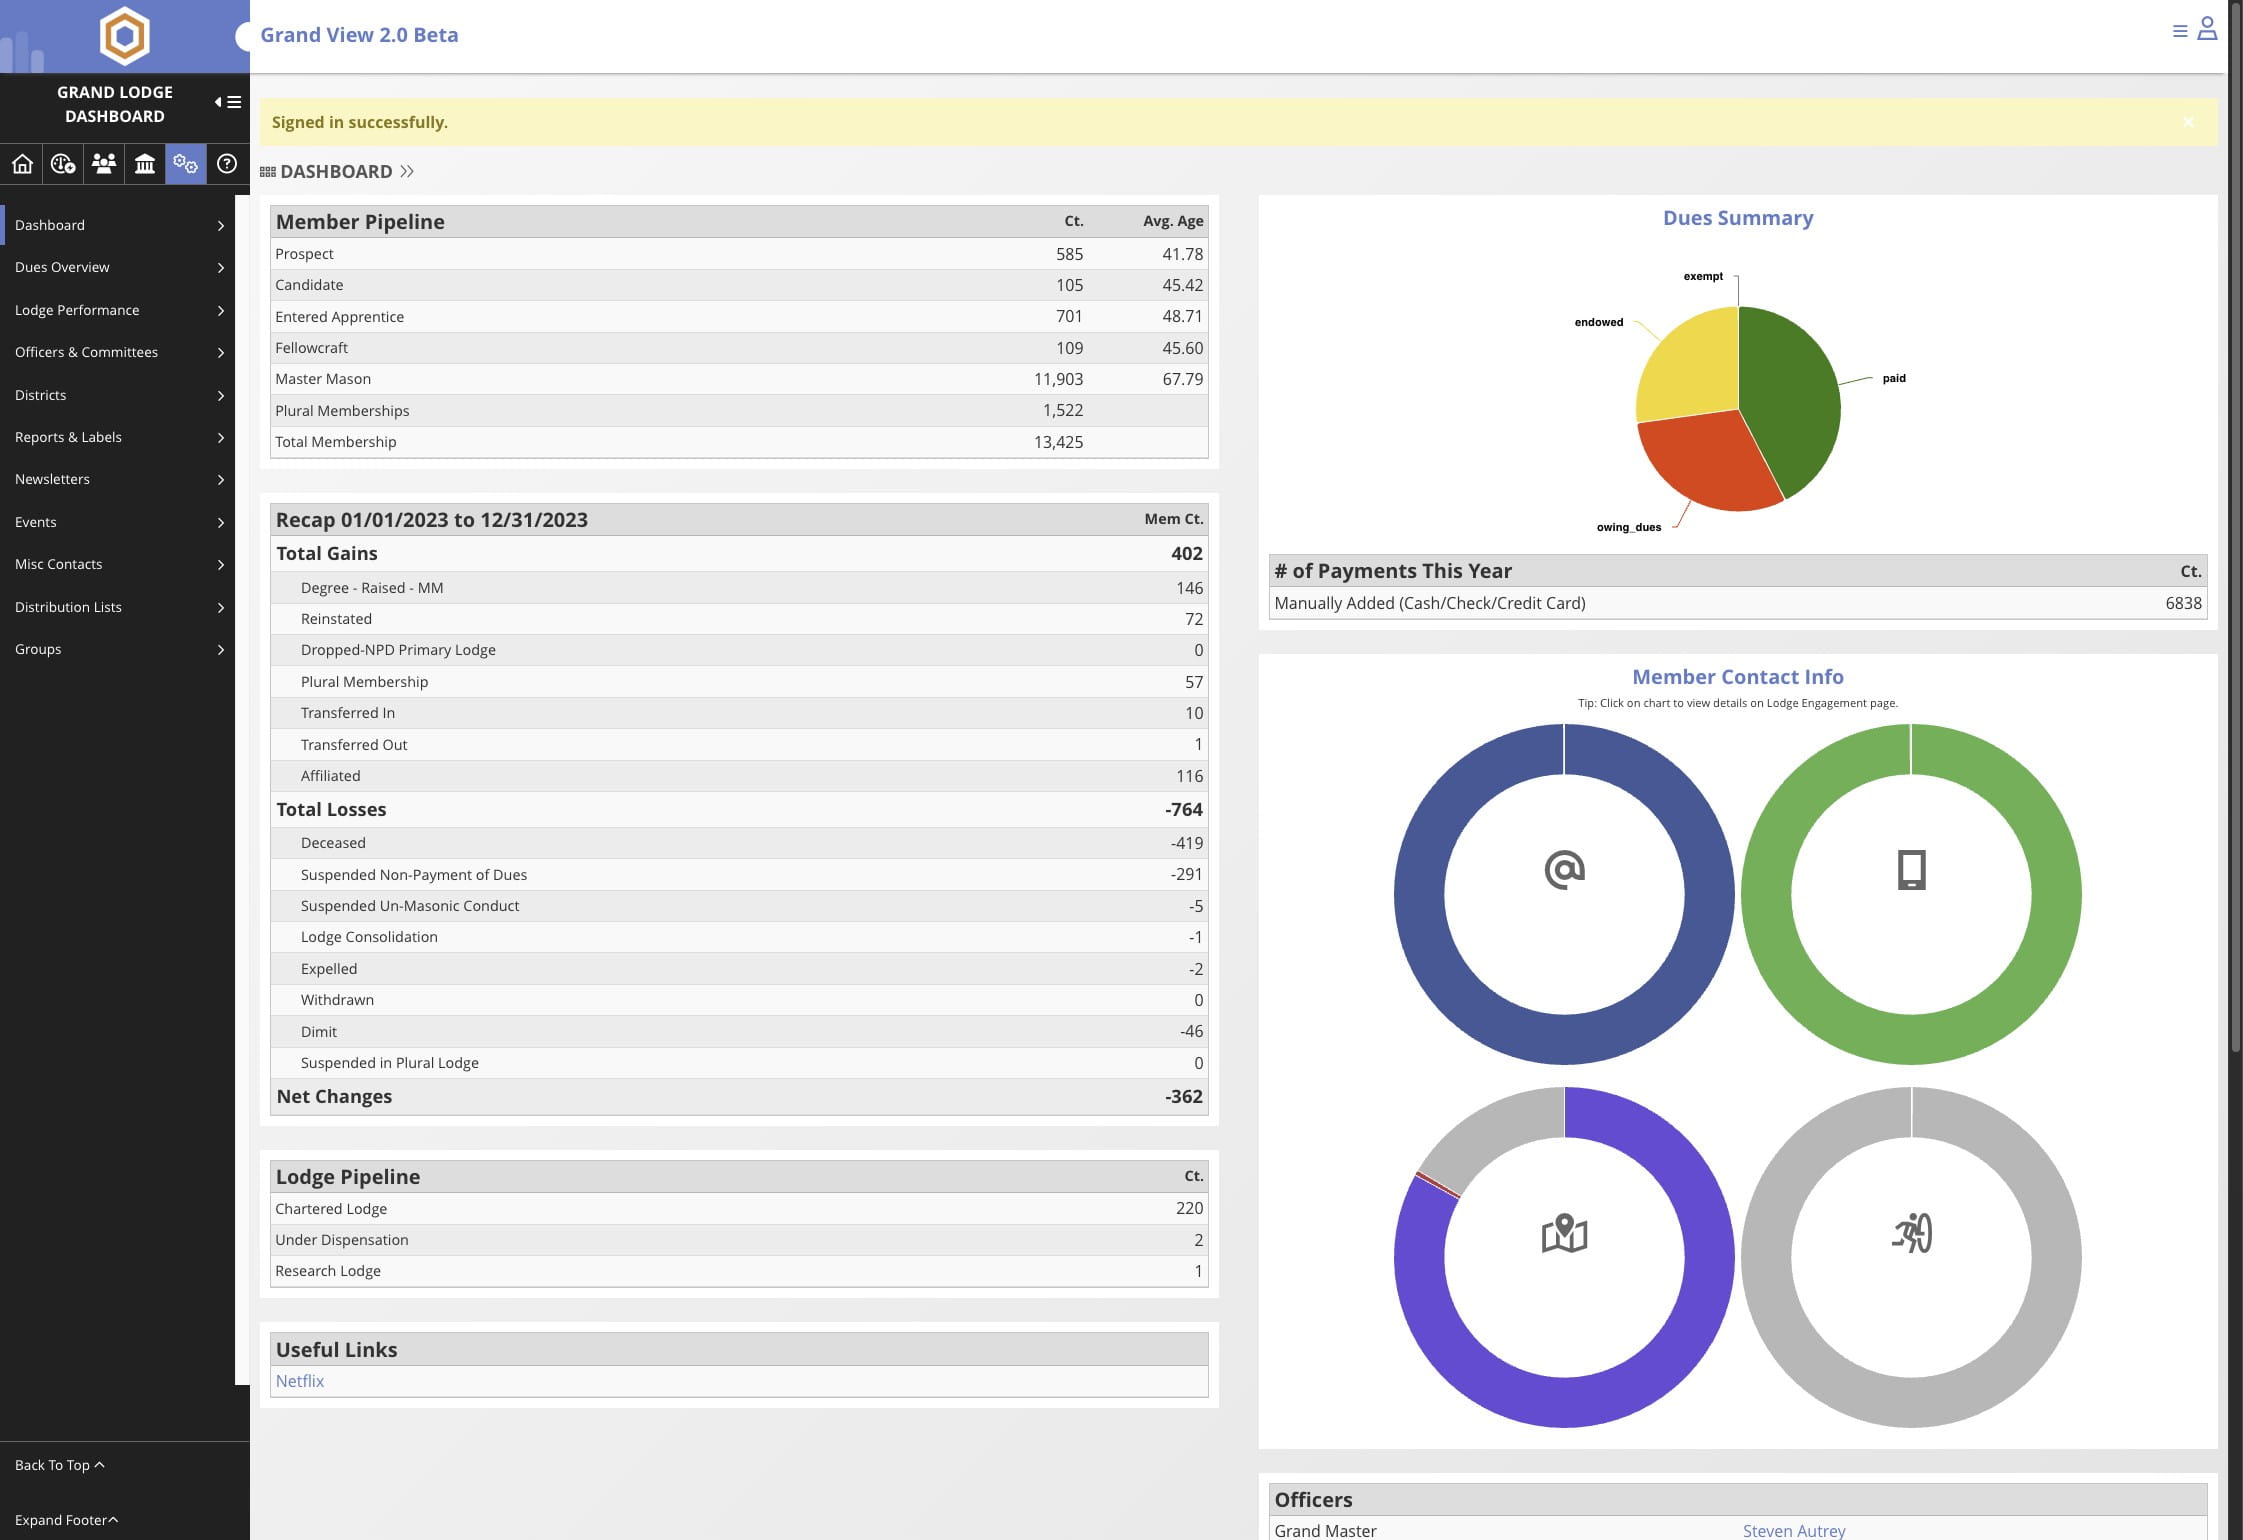
Click the gear icon in the top navigation bar

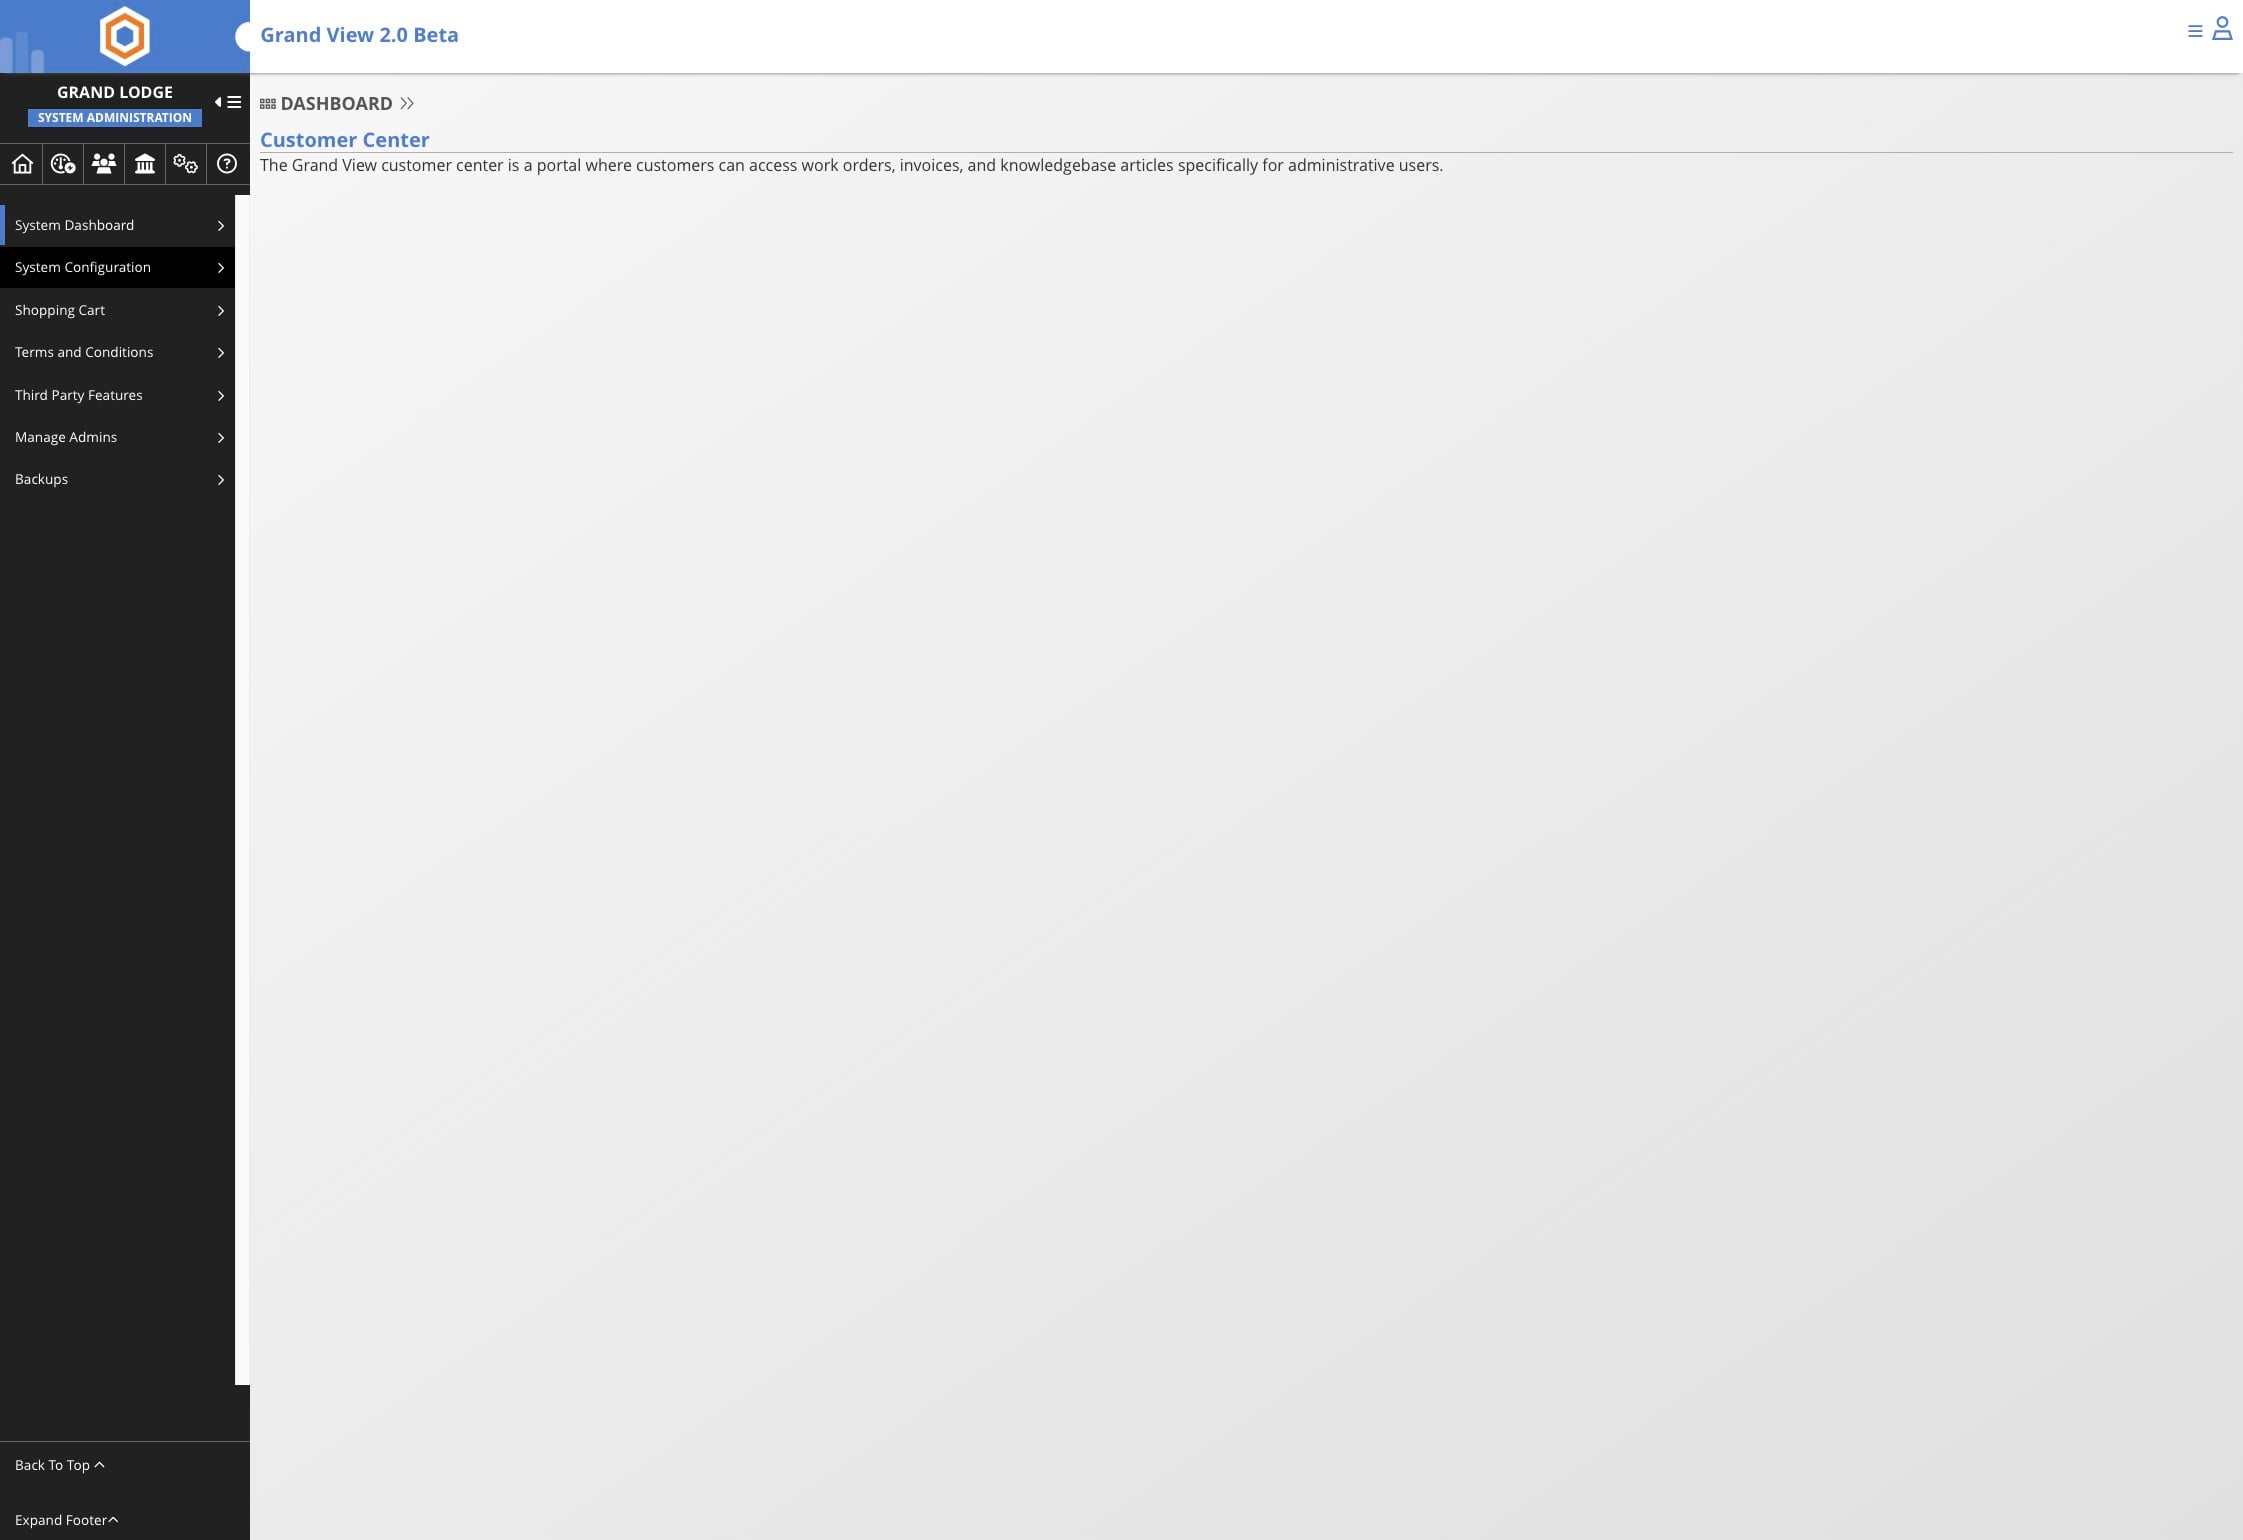
Click System Configuration in the left menu
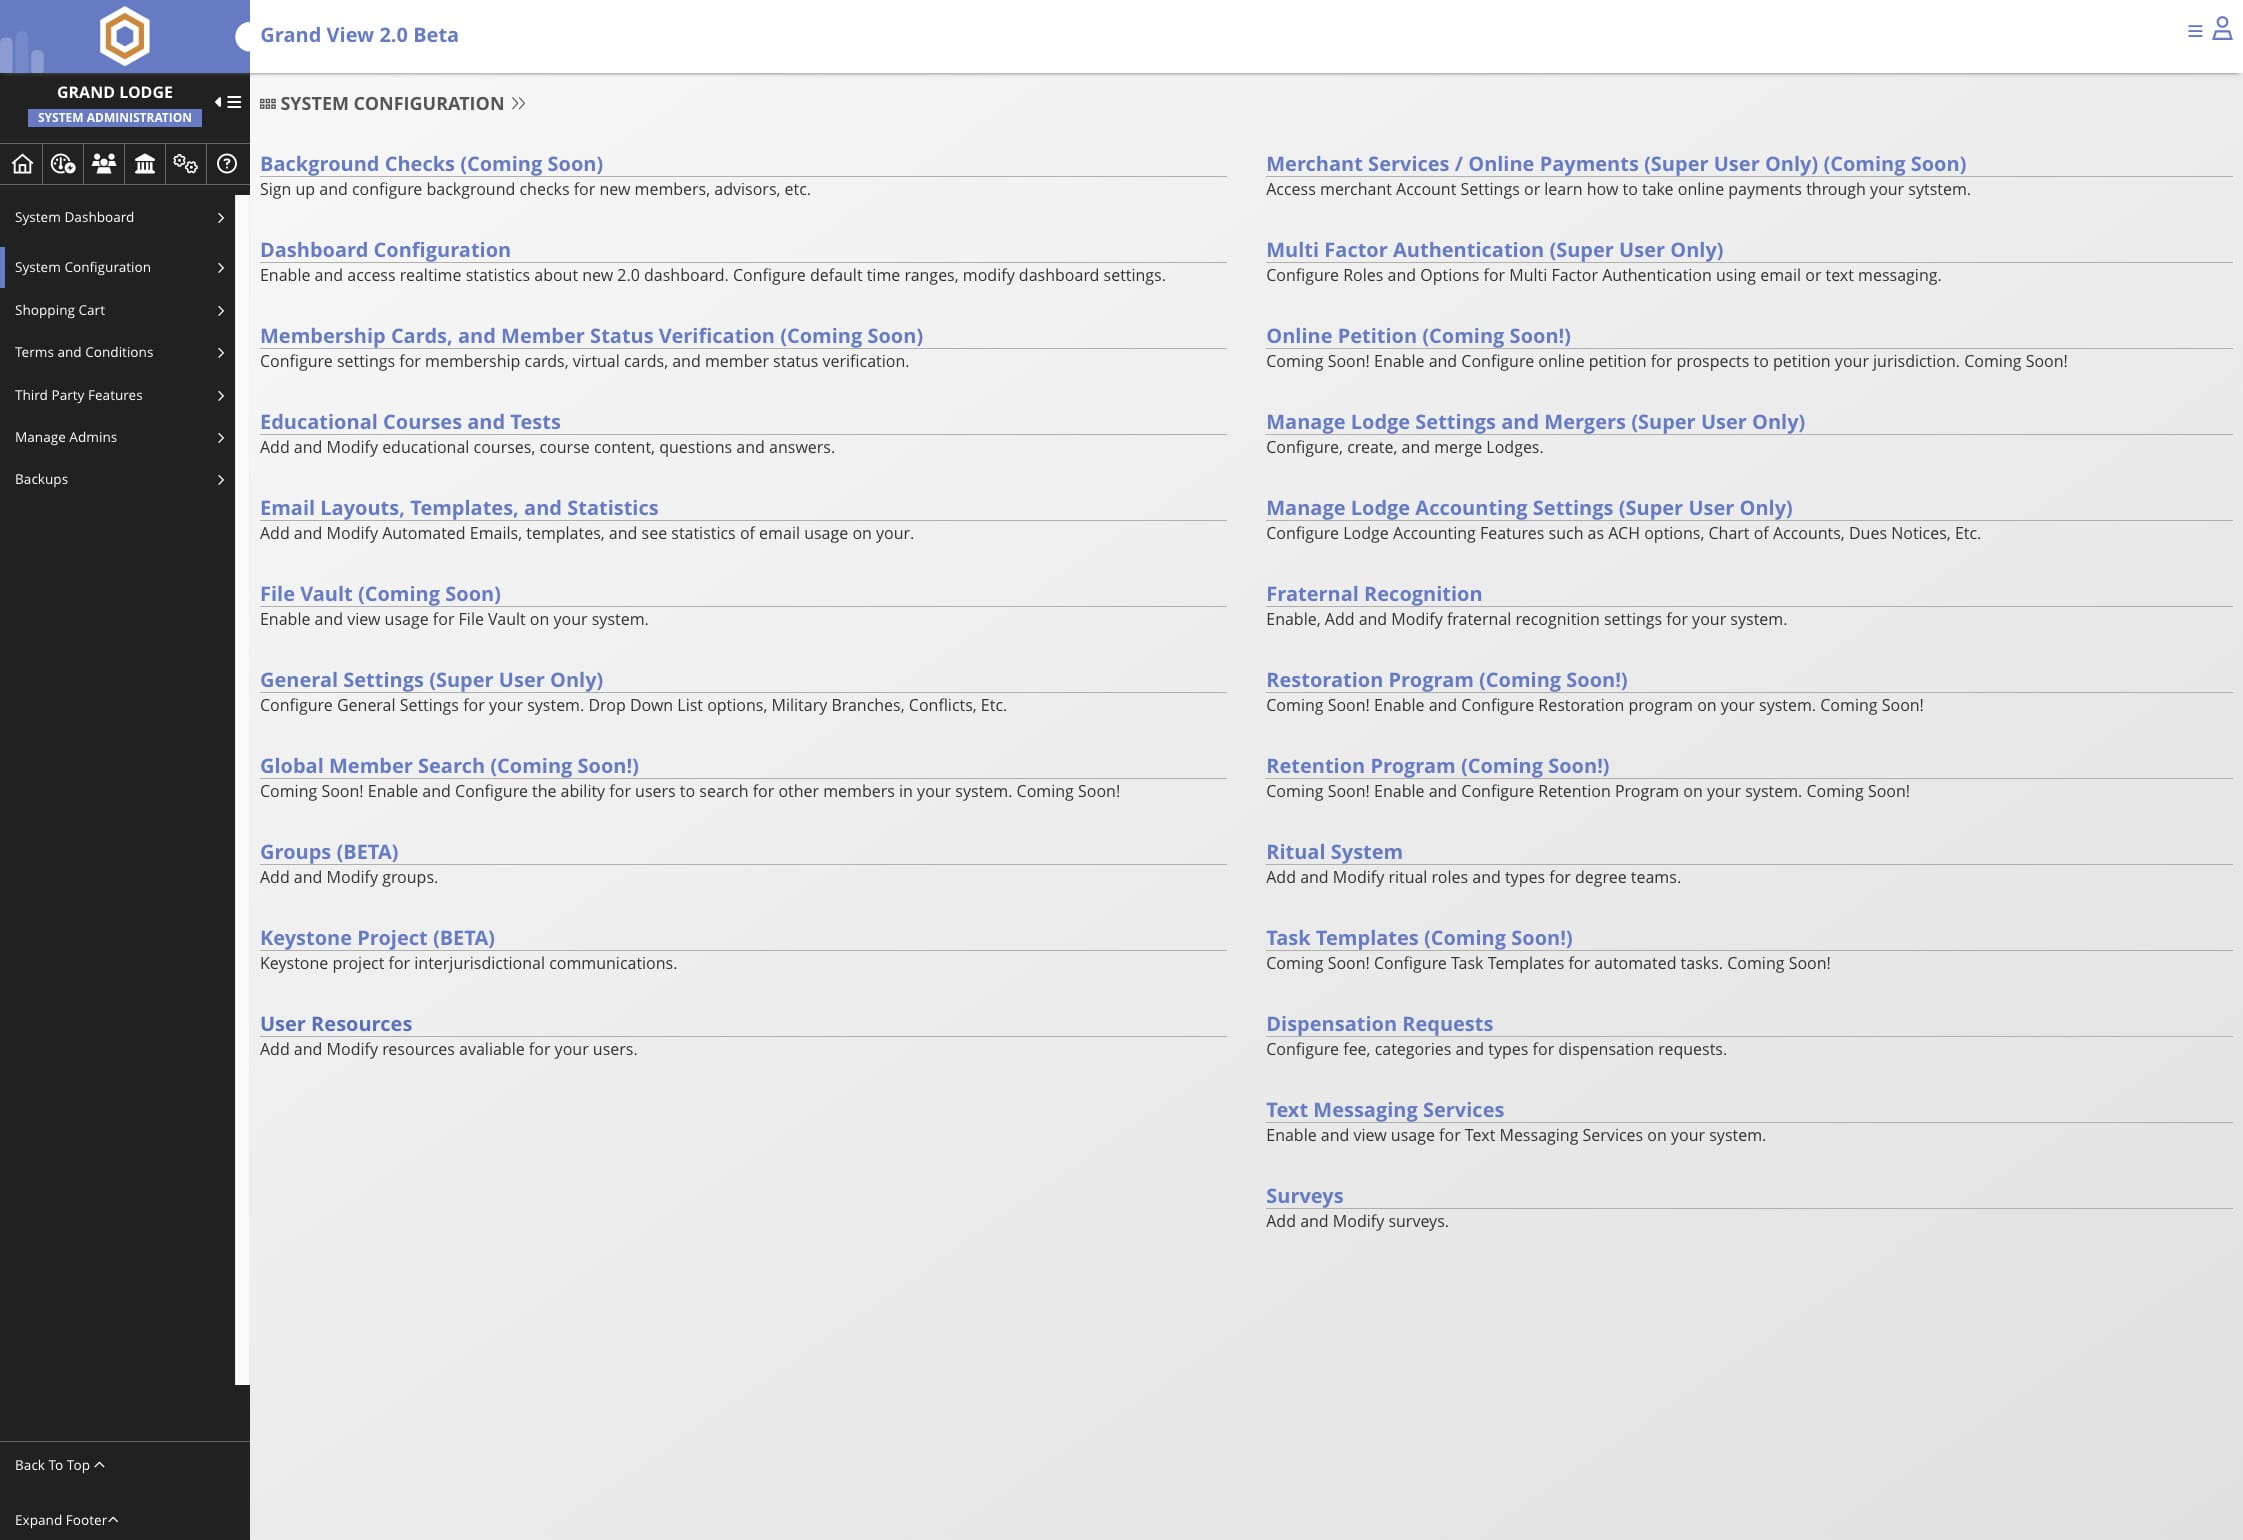
Select User Resources
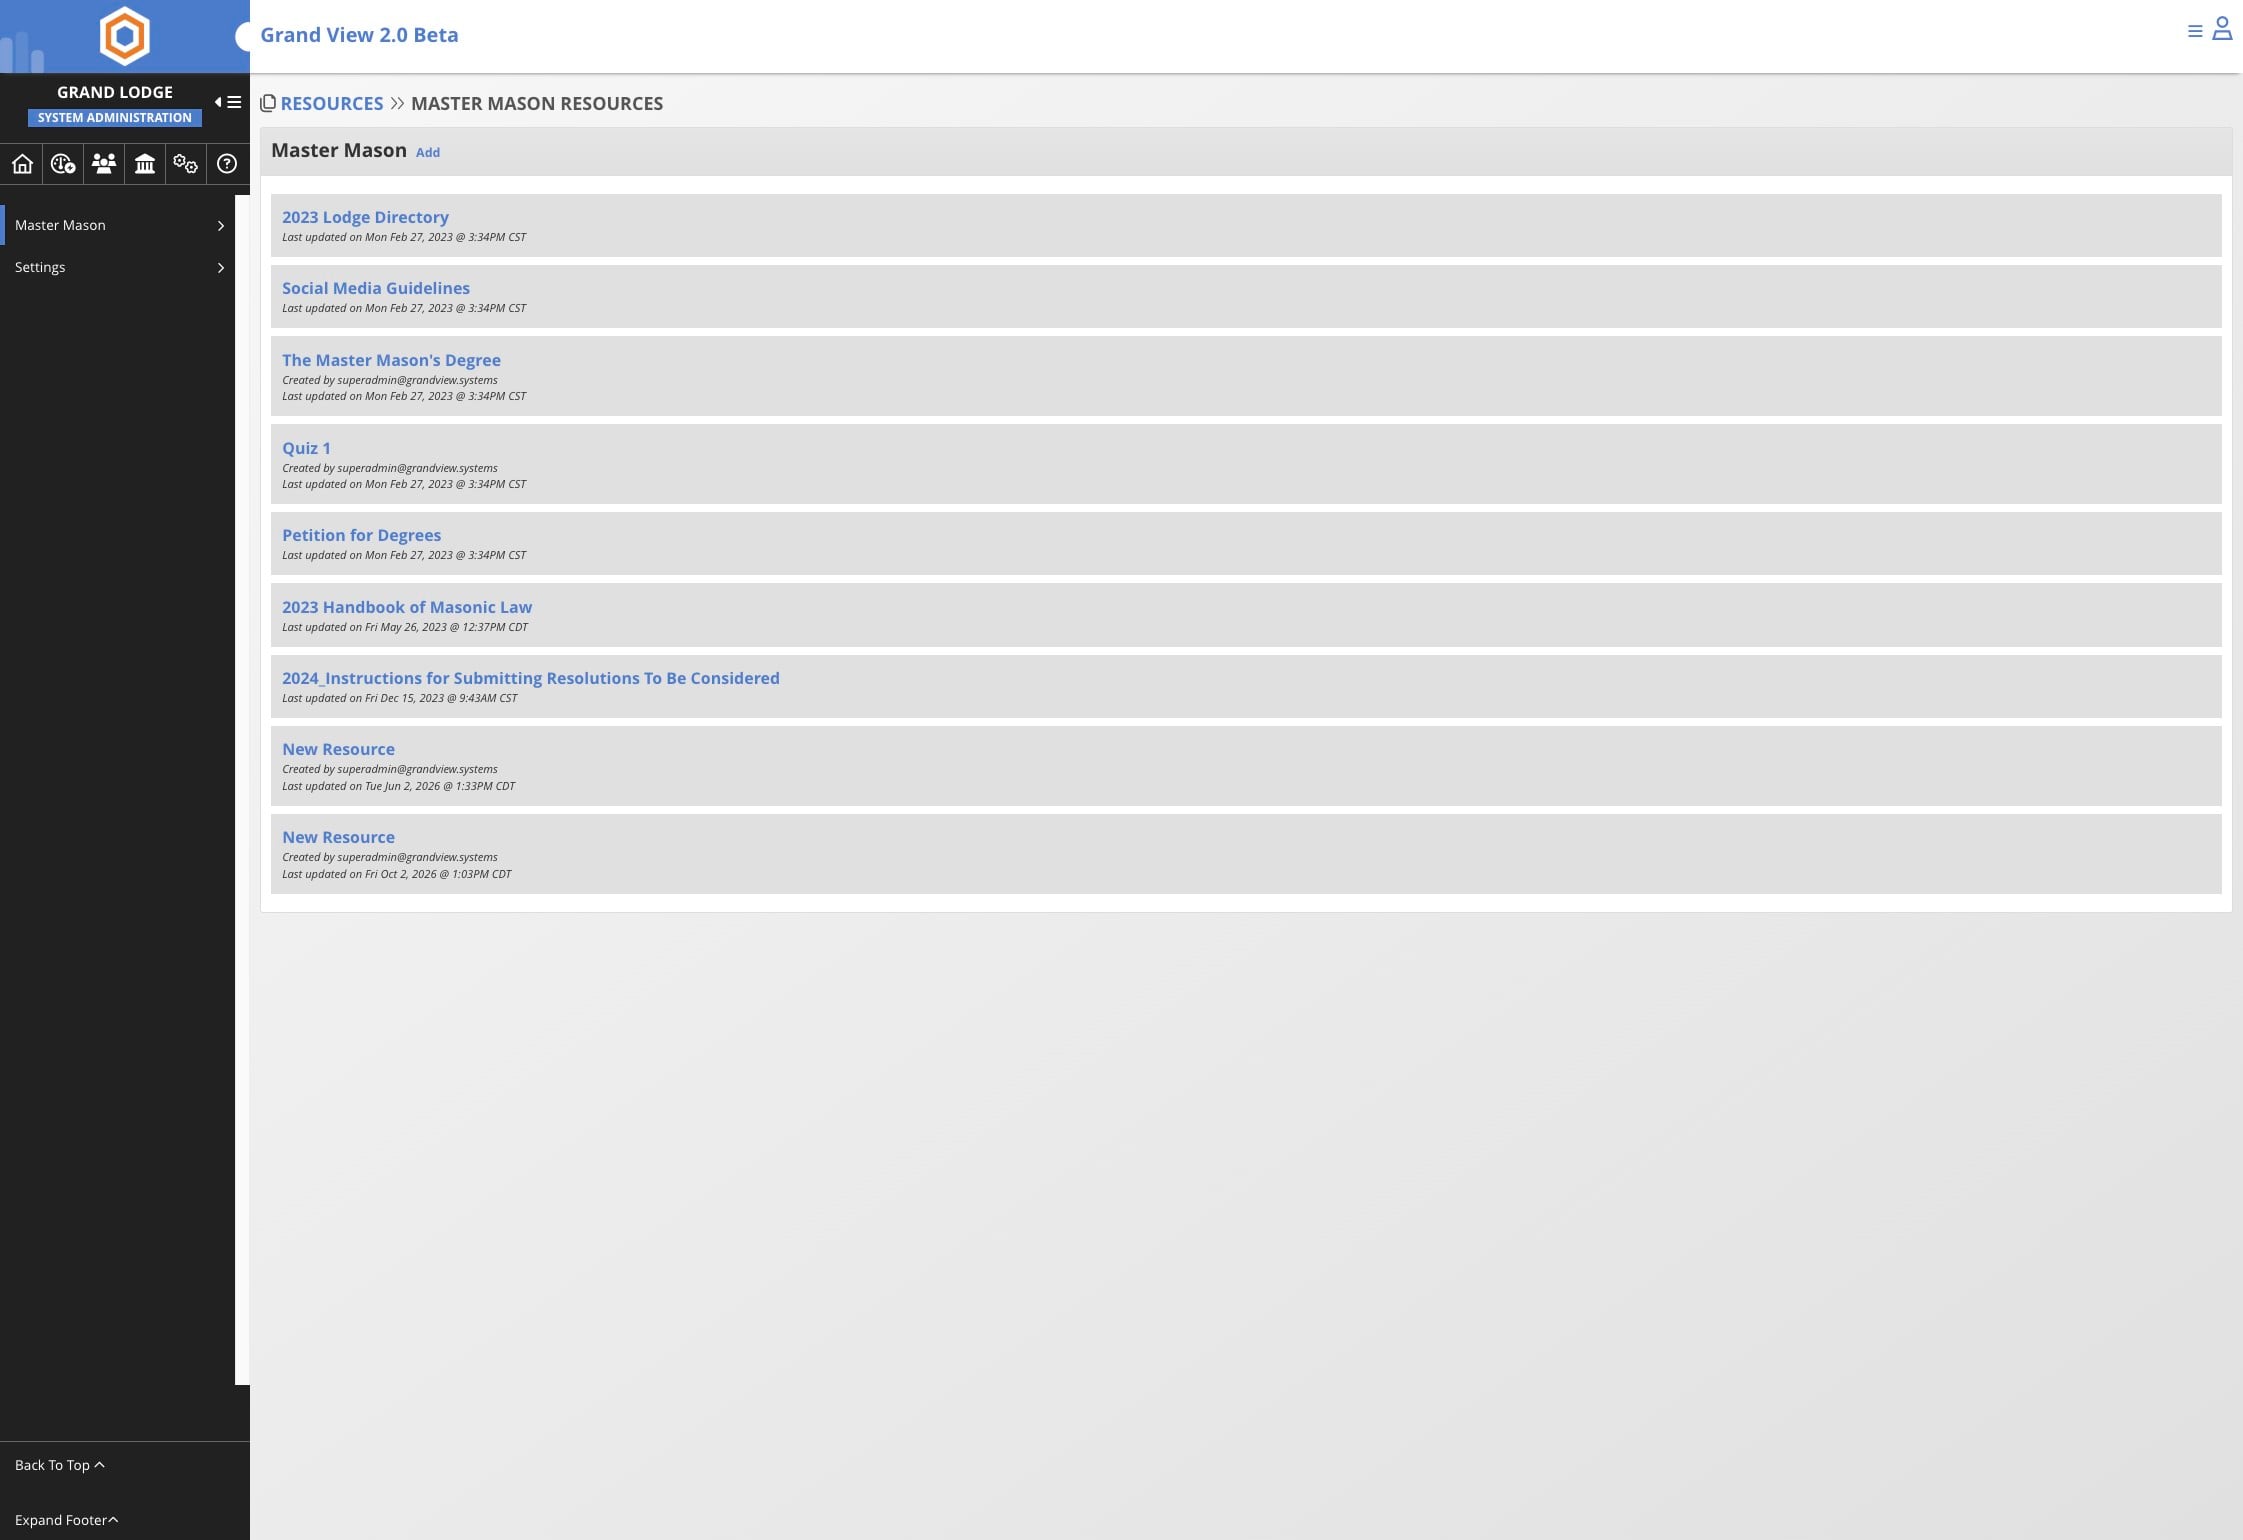
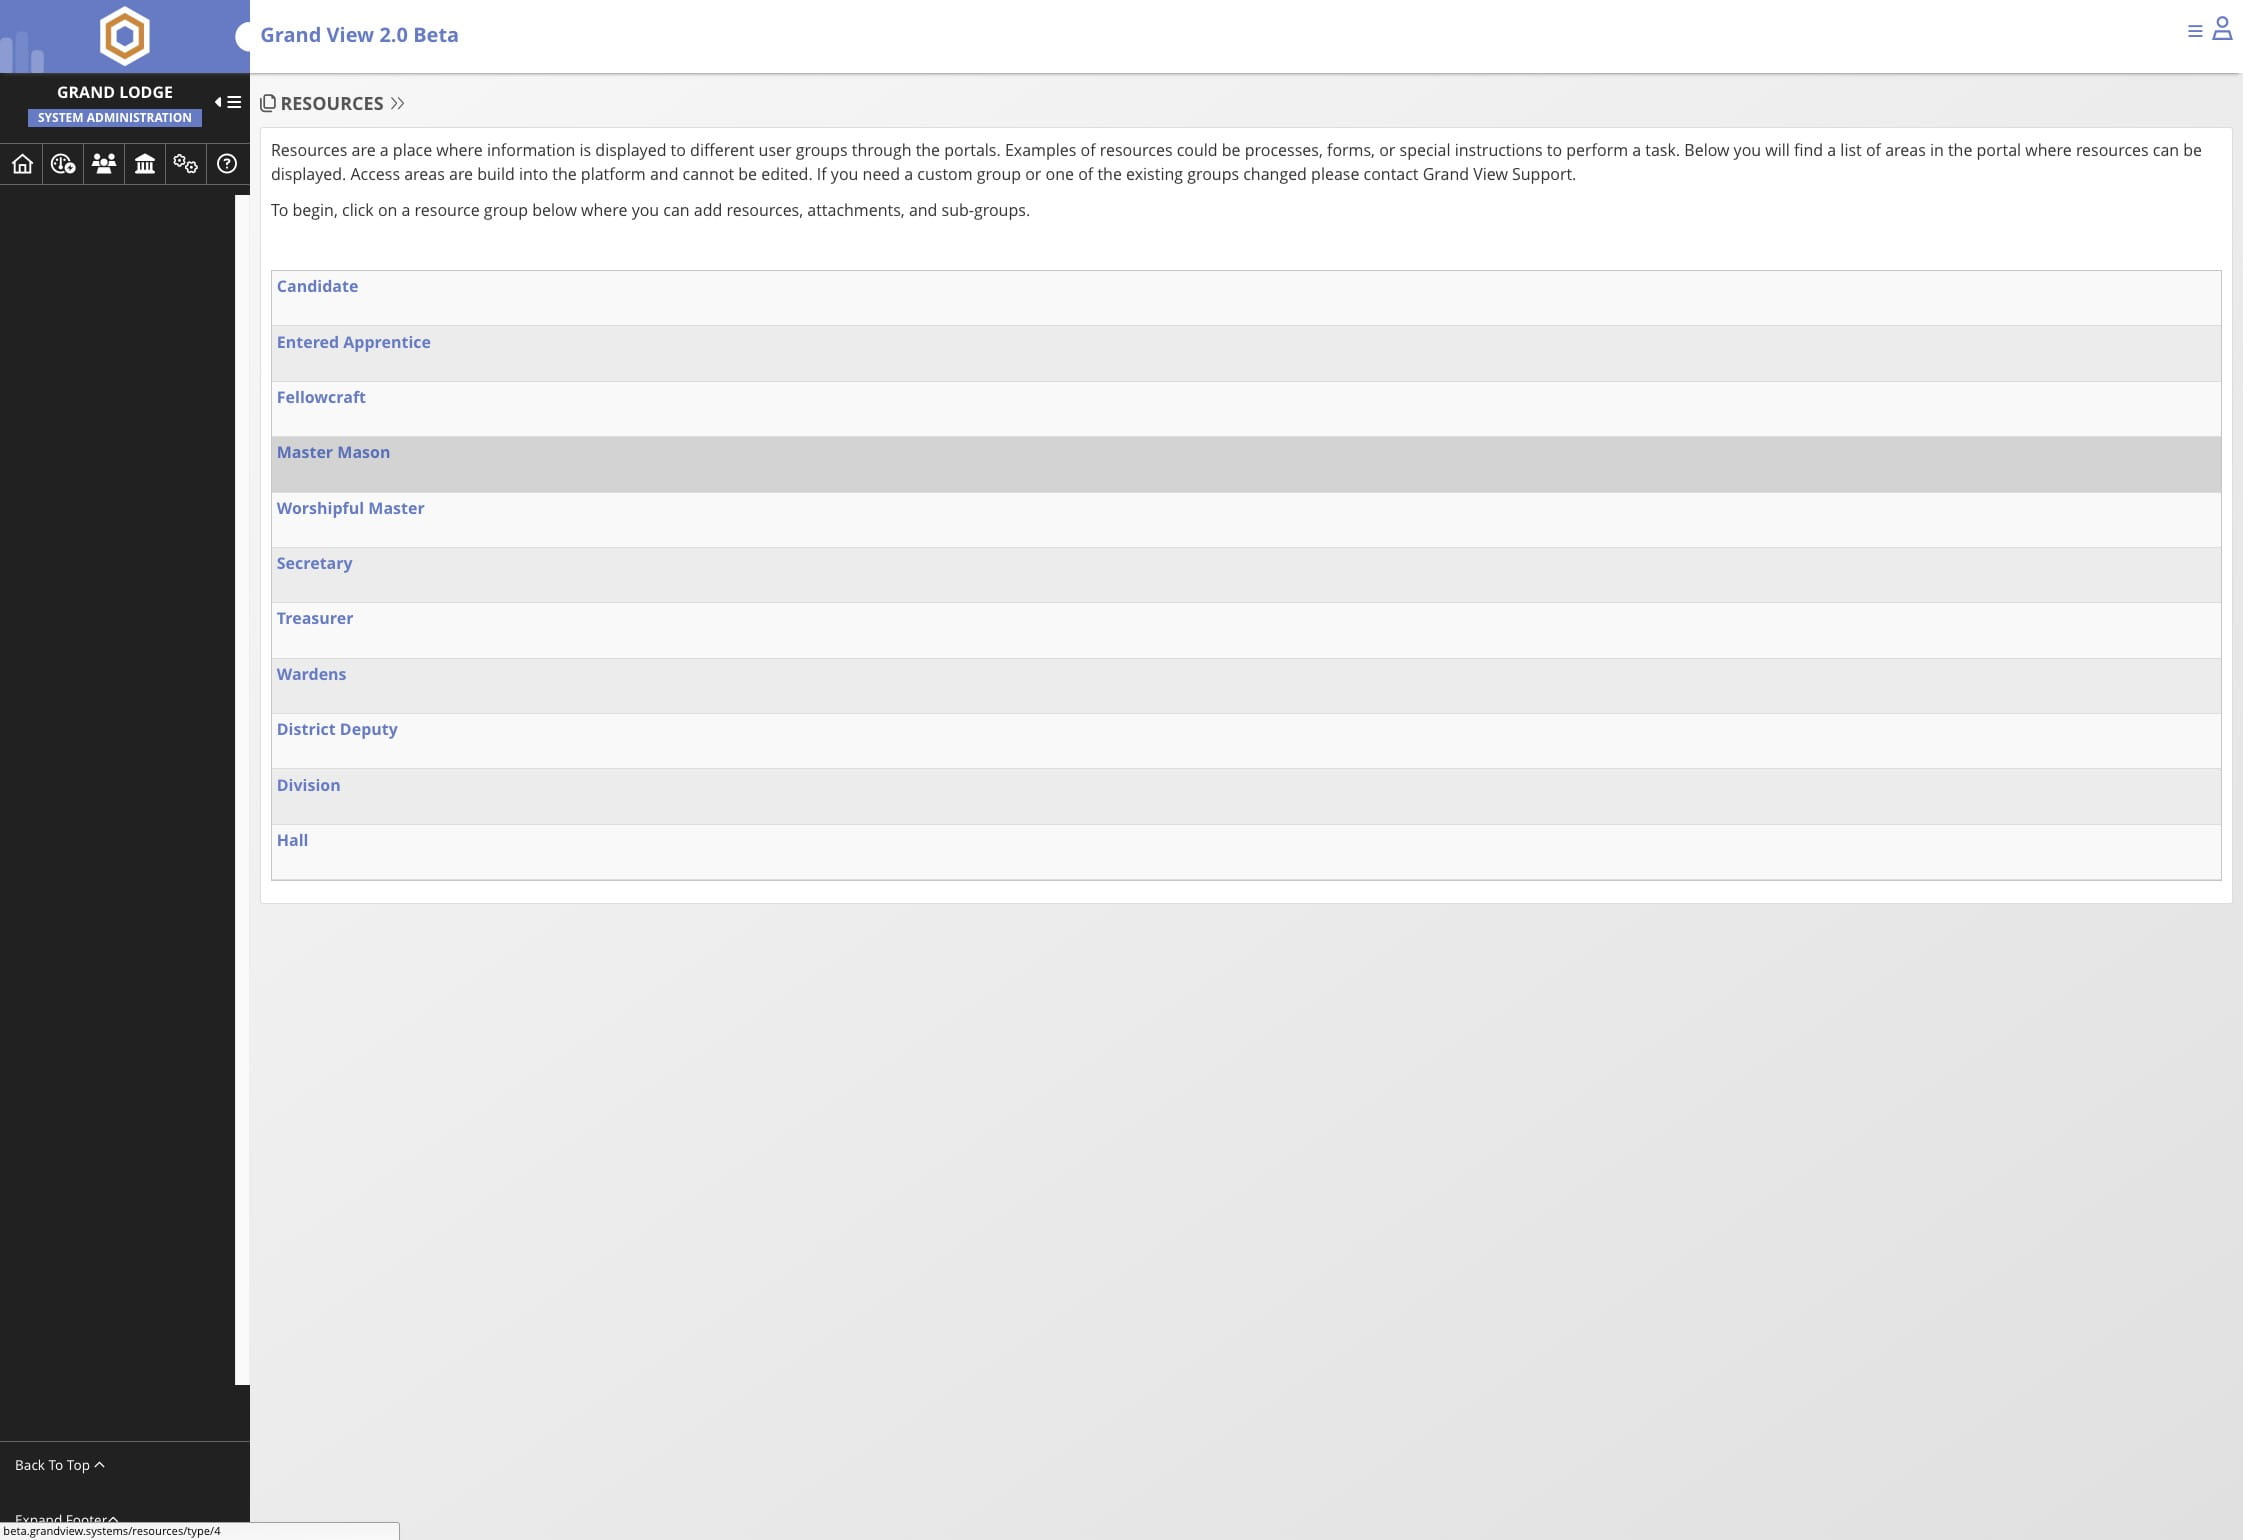
Select Master Mason from the resource groups or the resource group you wish to add the resource to
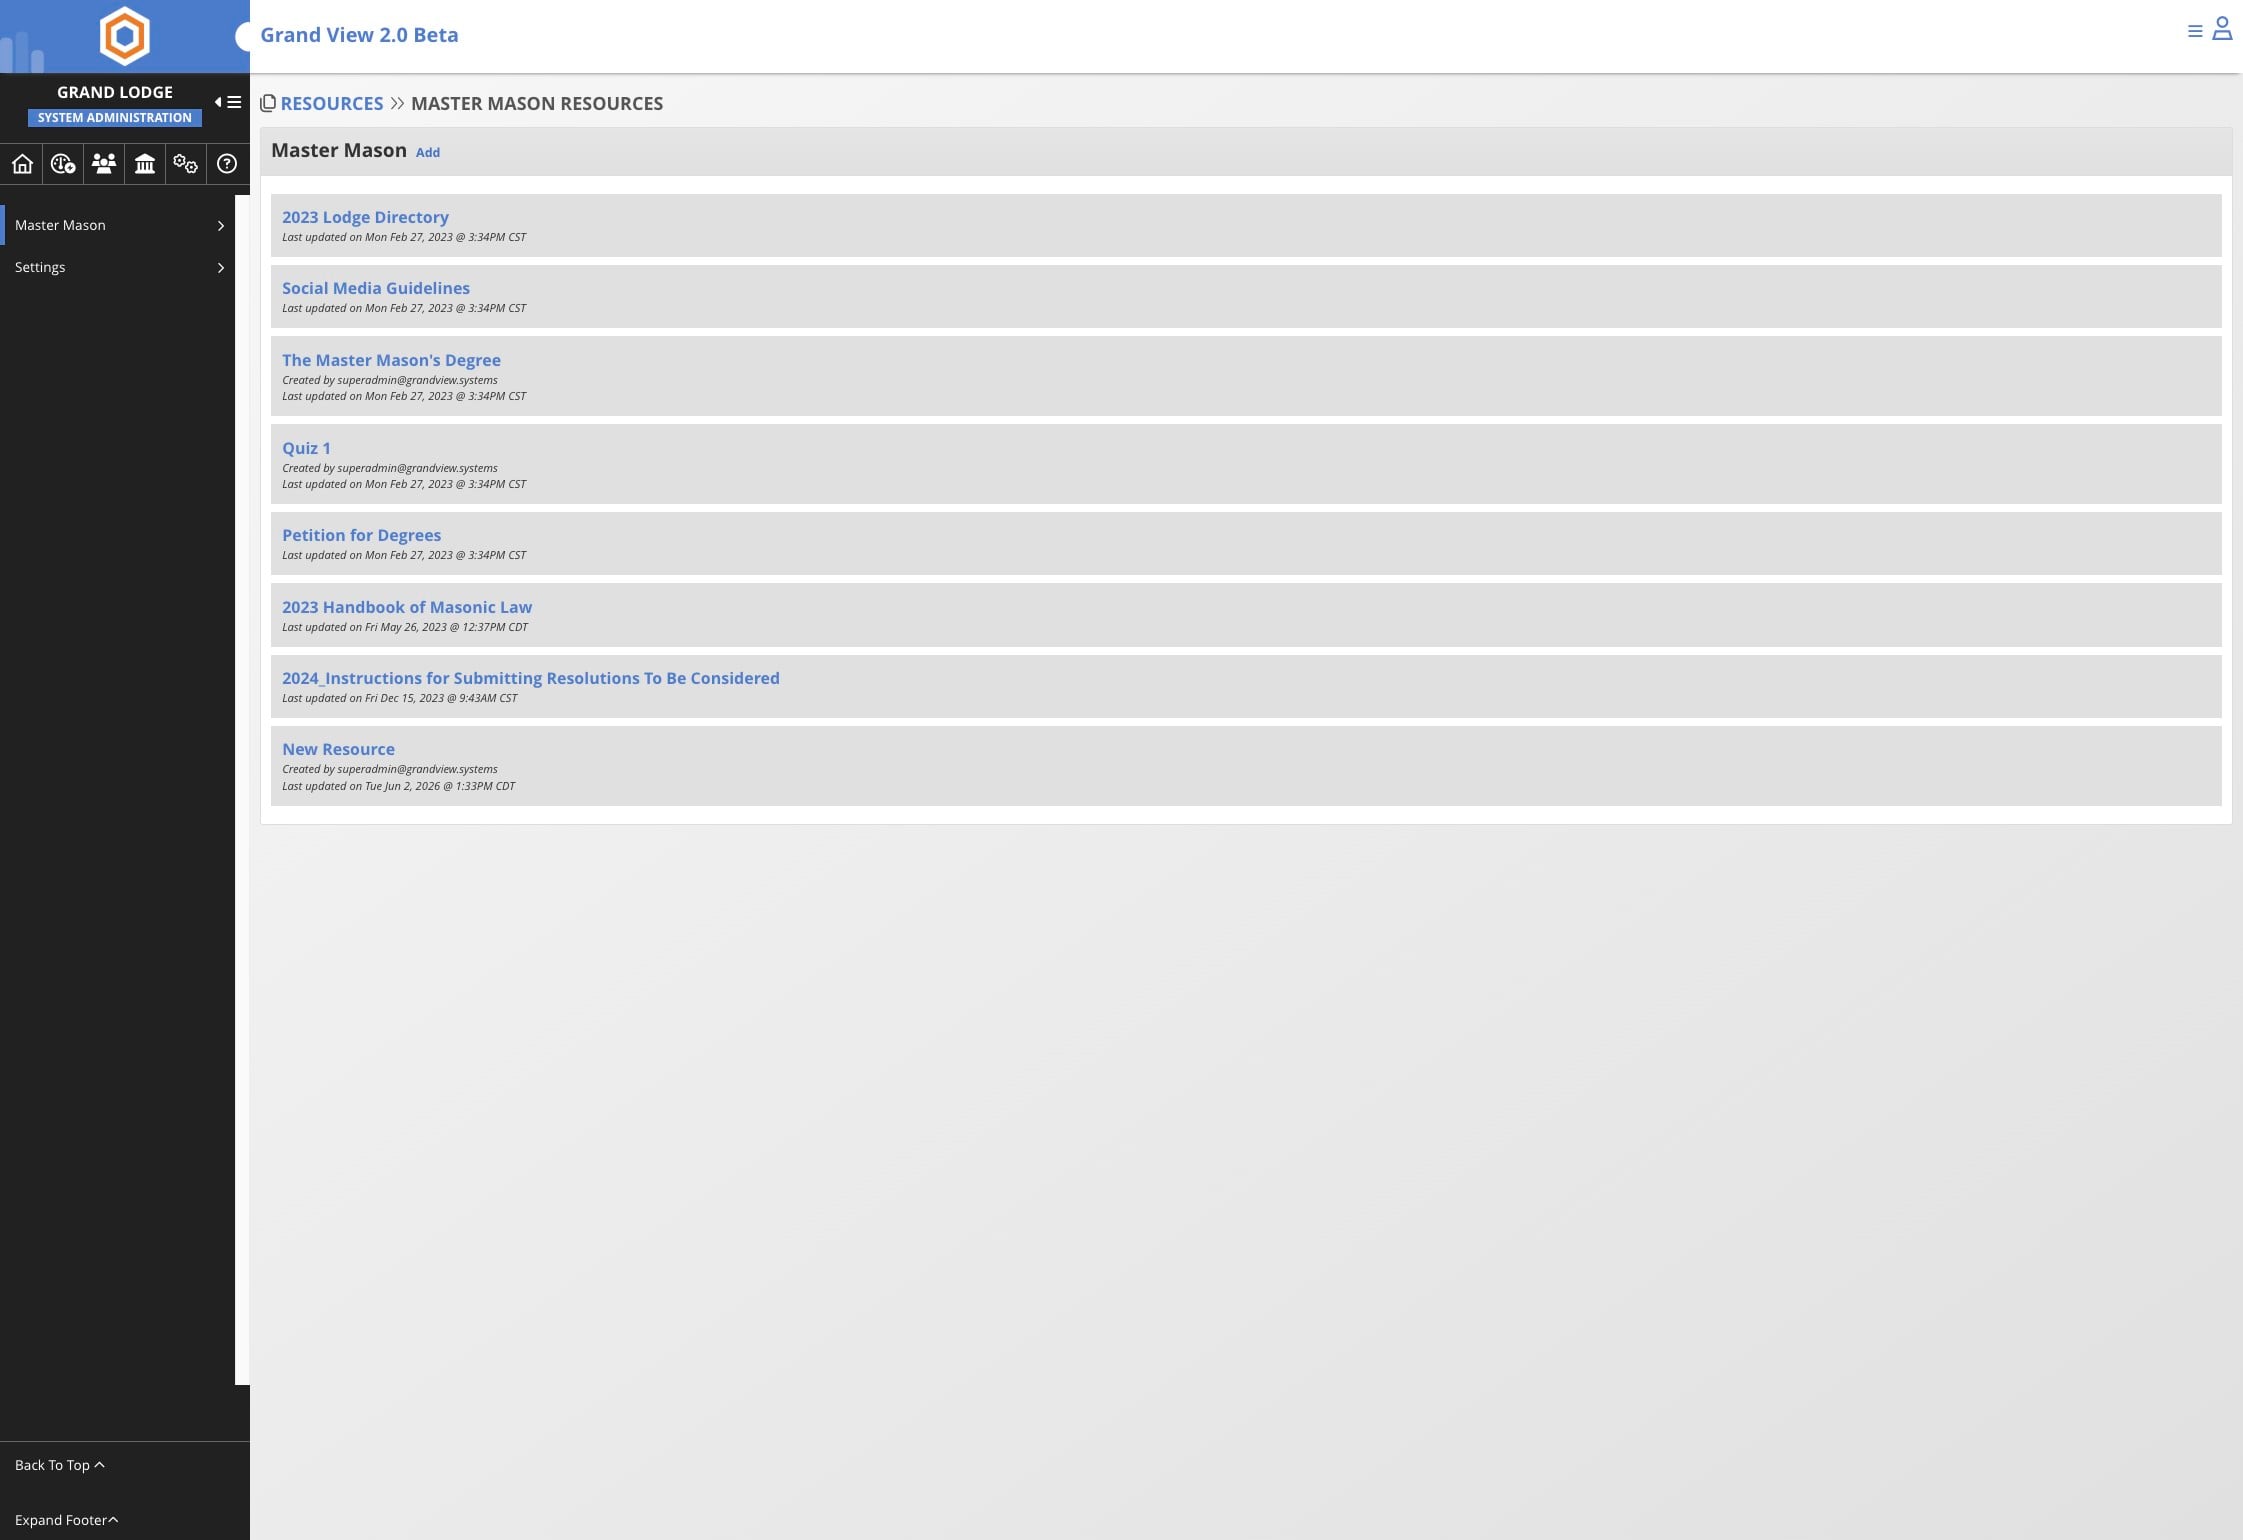
Click Add
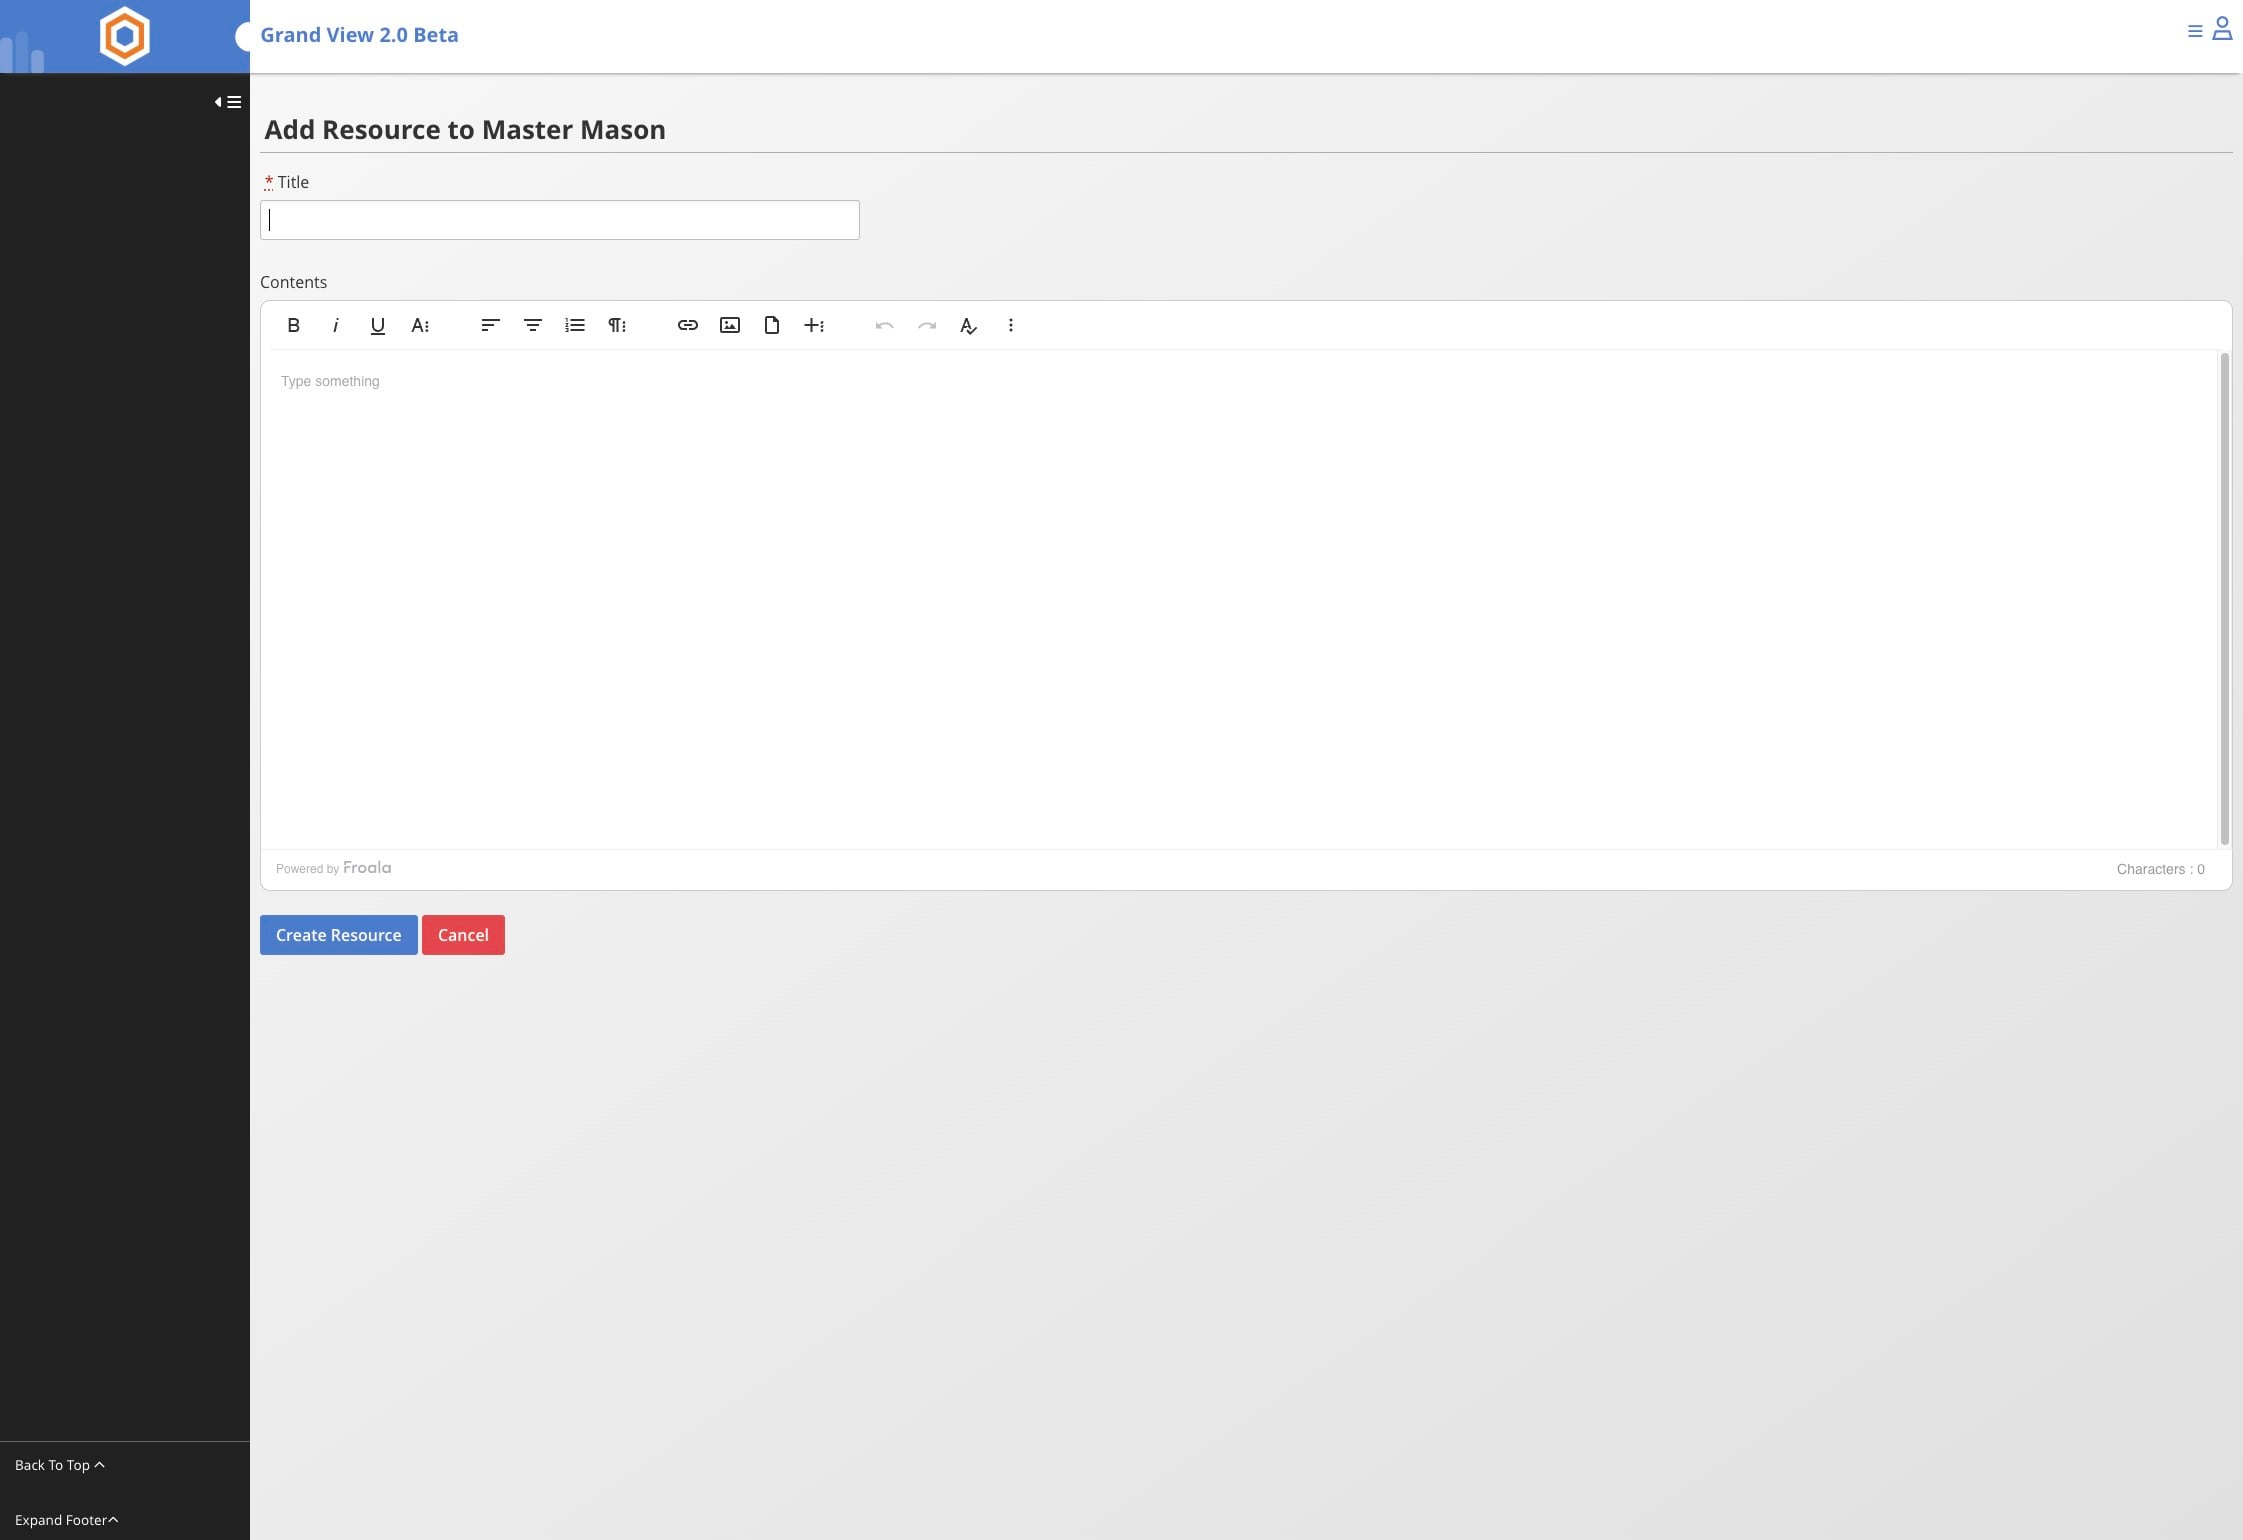
Click the Title field and add a title. Additional information can be added to the contents section. This is helpful if the resource is a collection of documents.
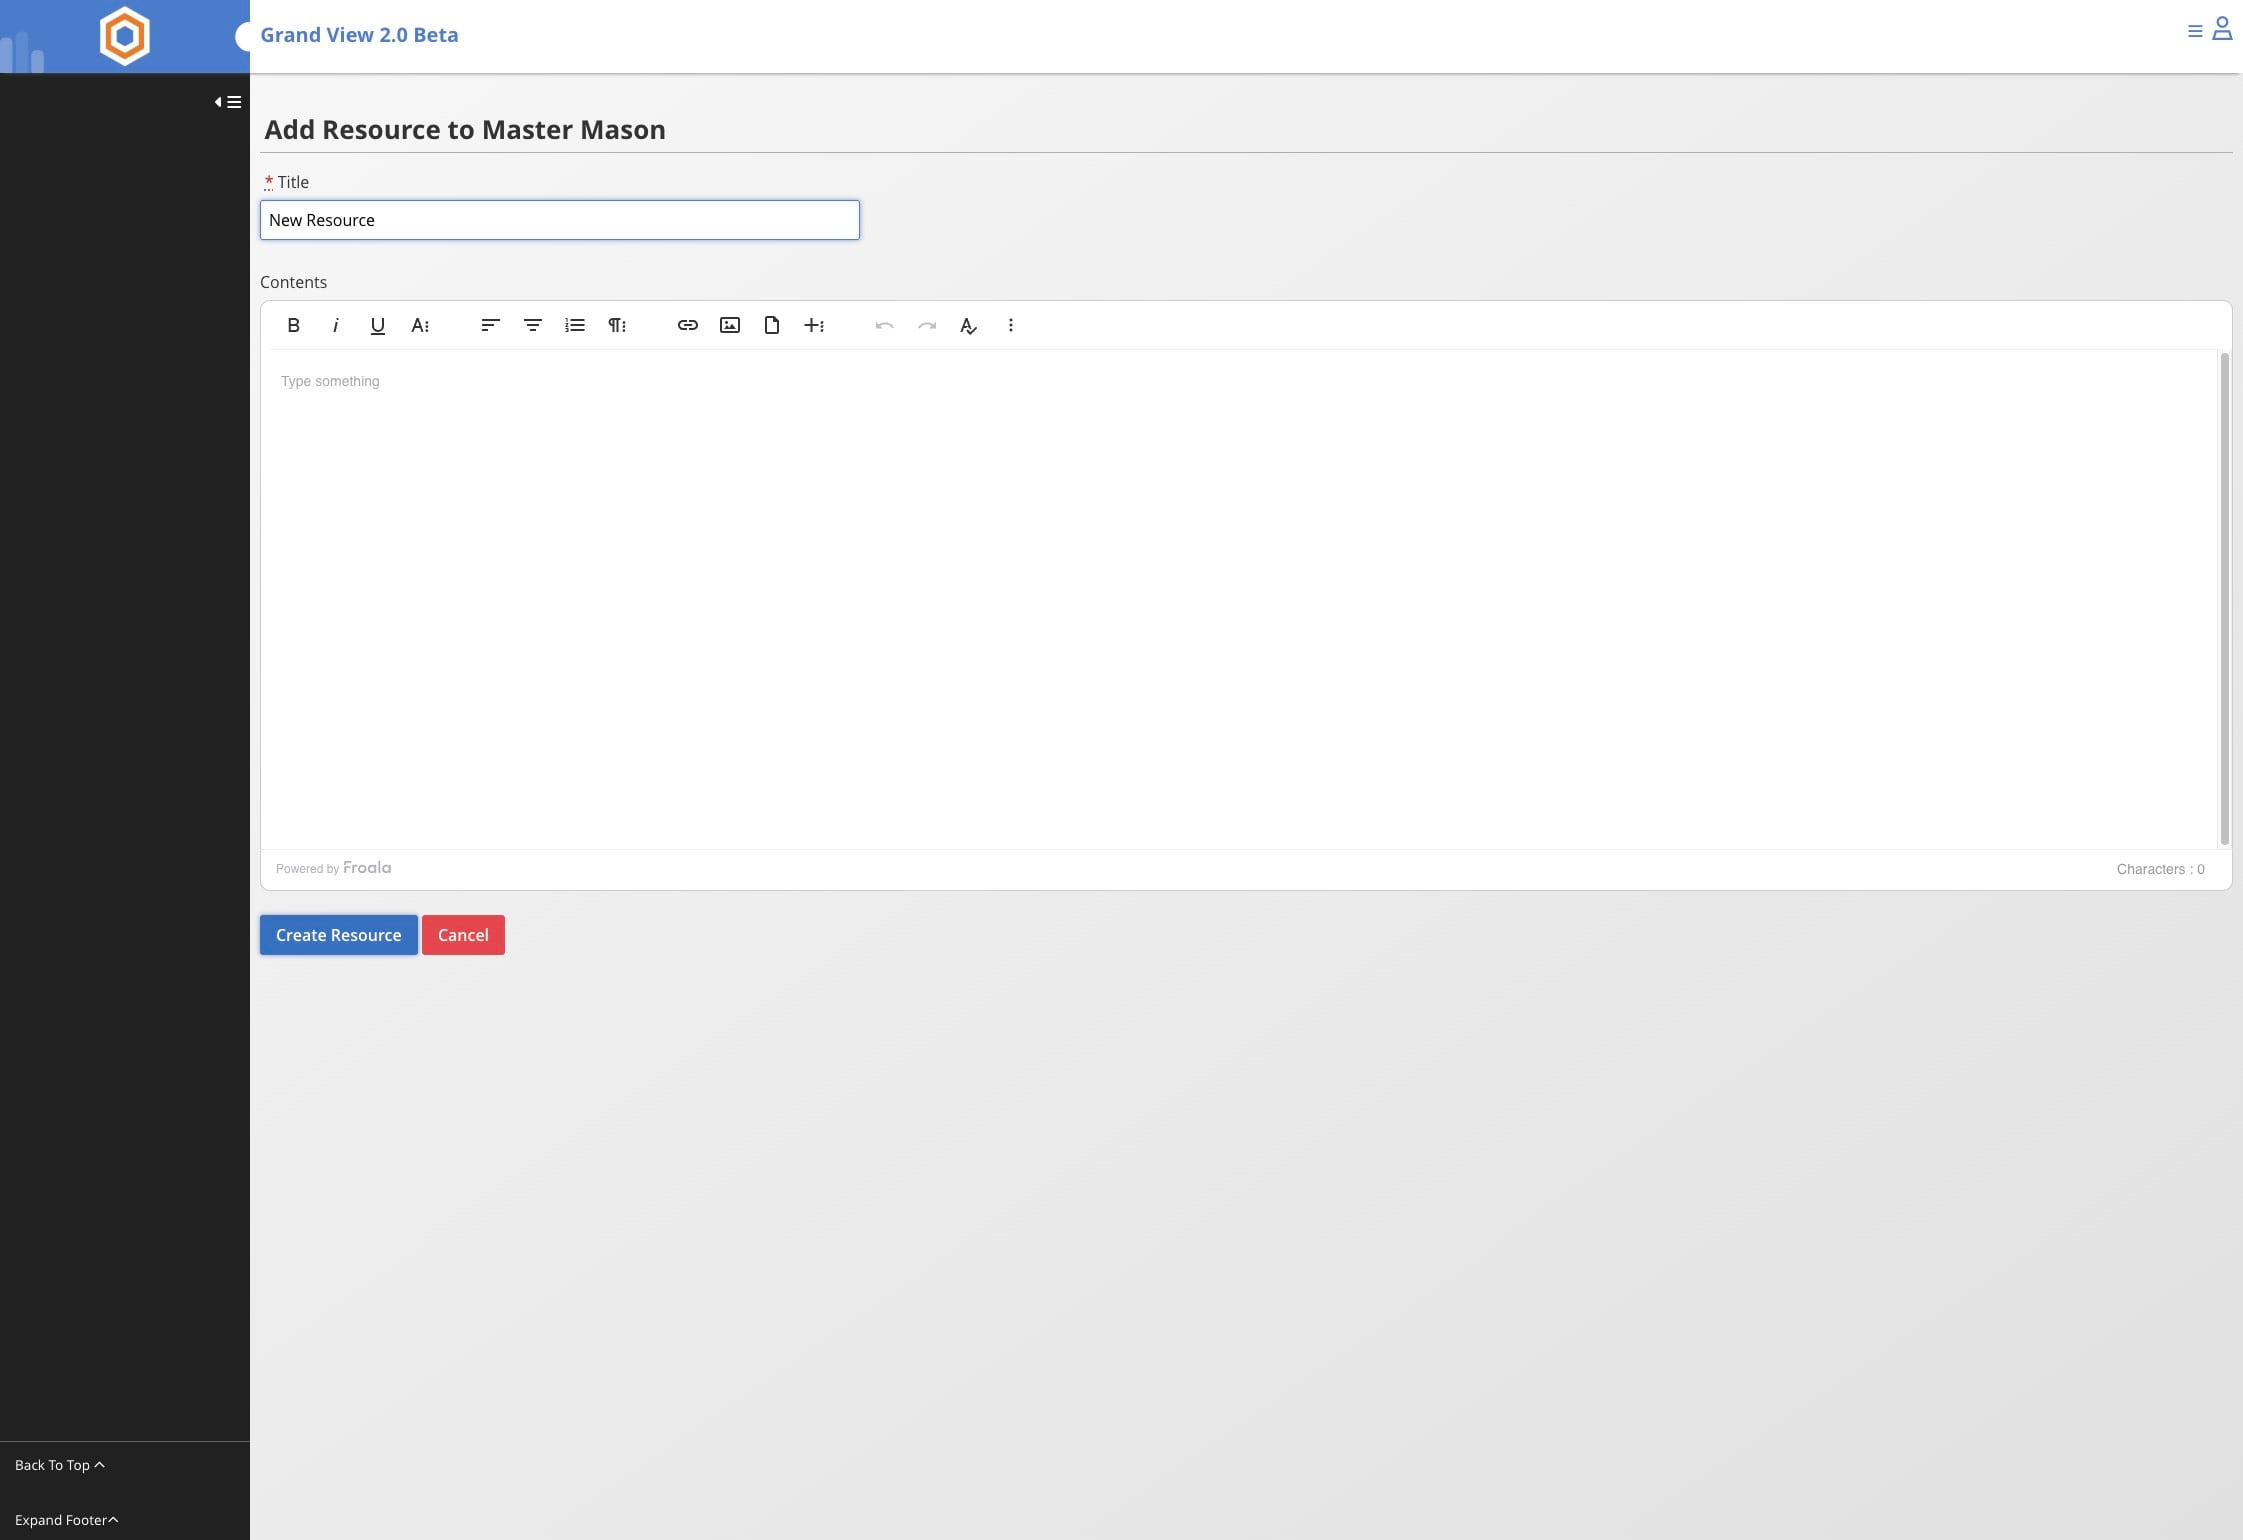
Click Create Resource
The following steps will demonstrate how to add files to your newly created resource.
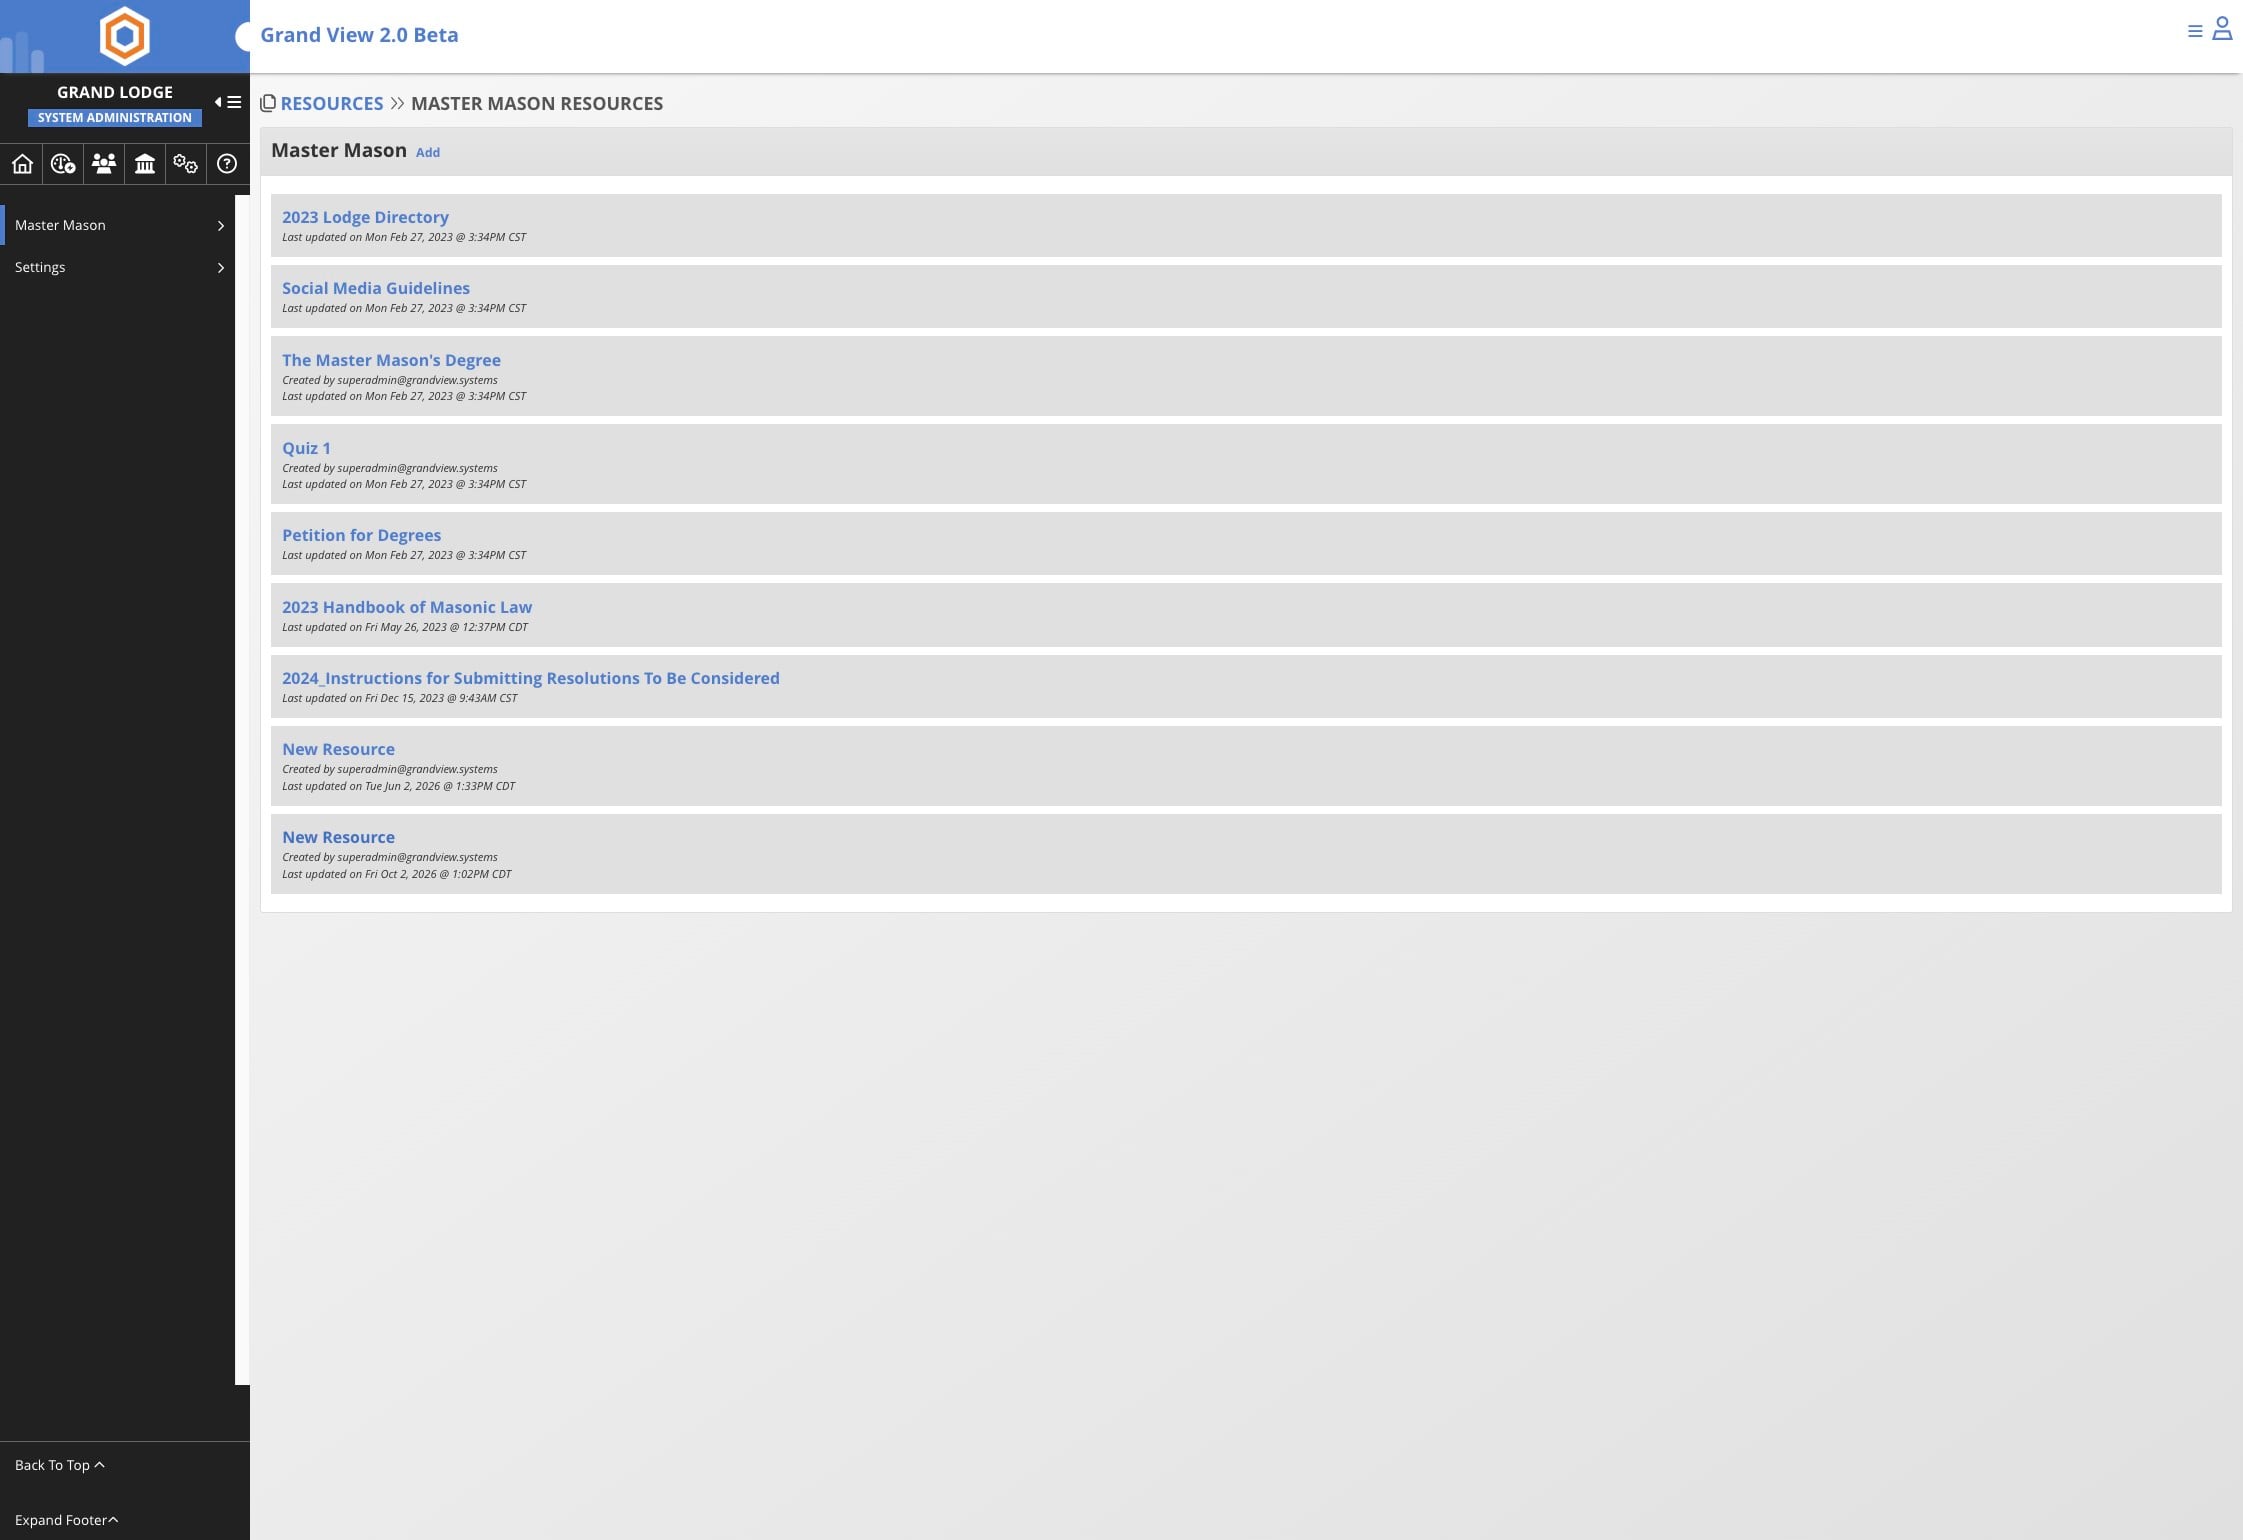
Open the New Resource entry
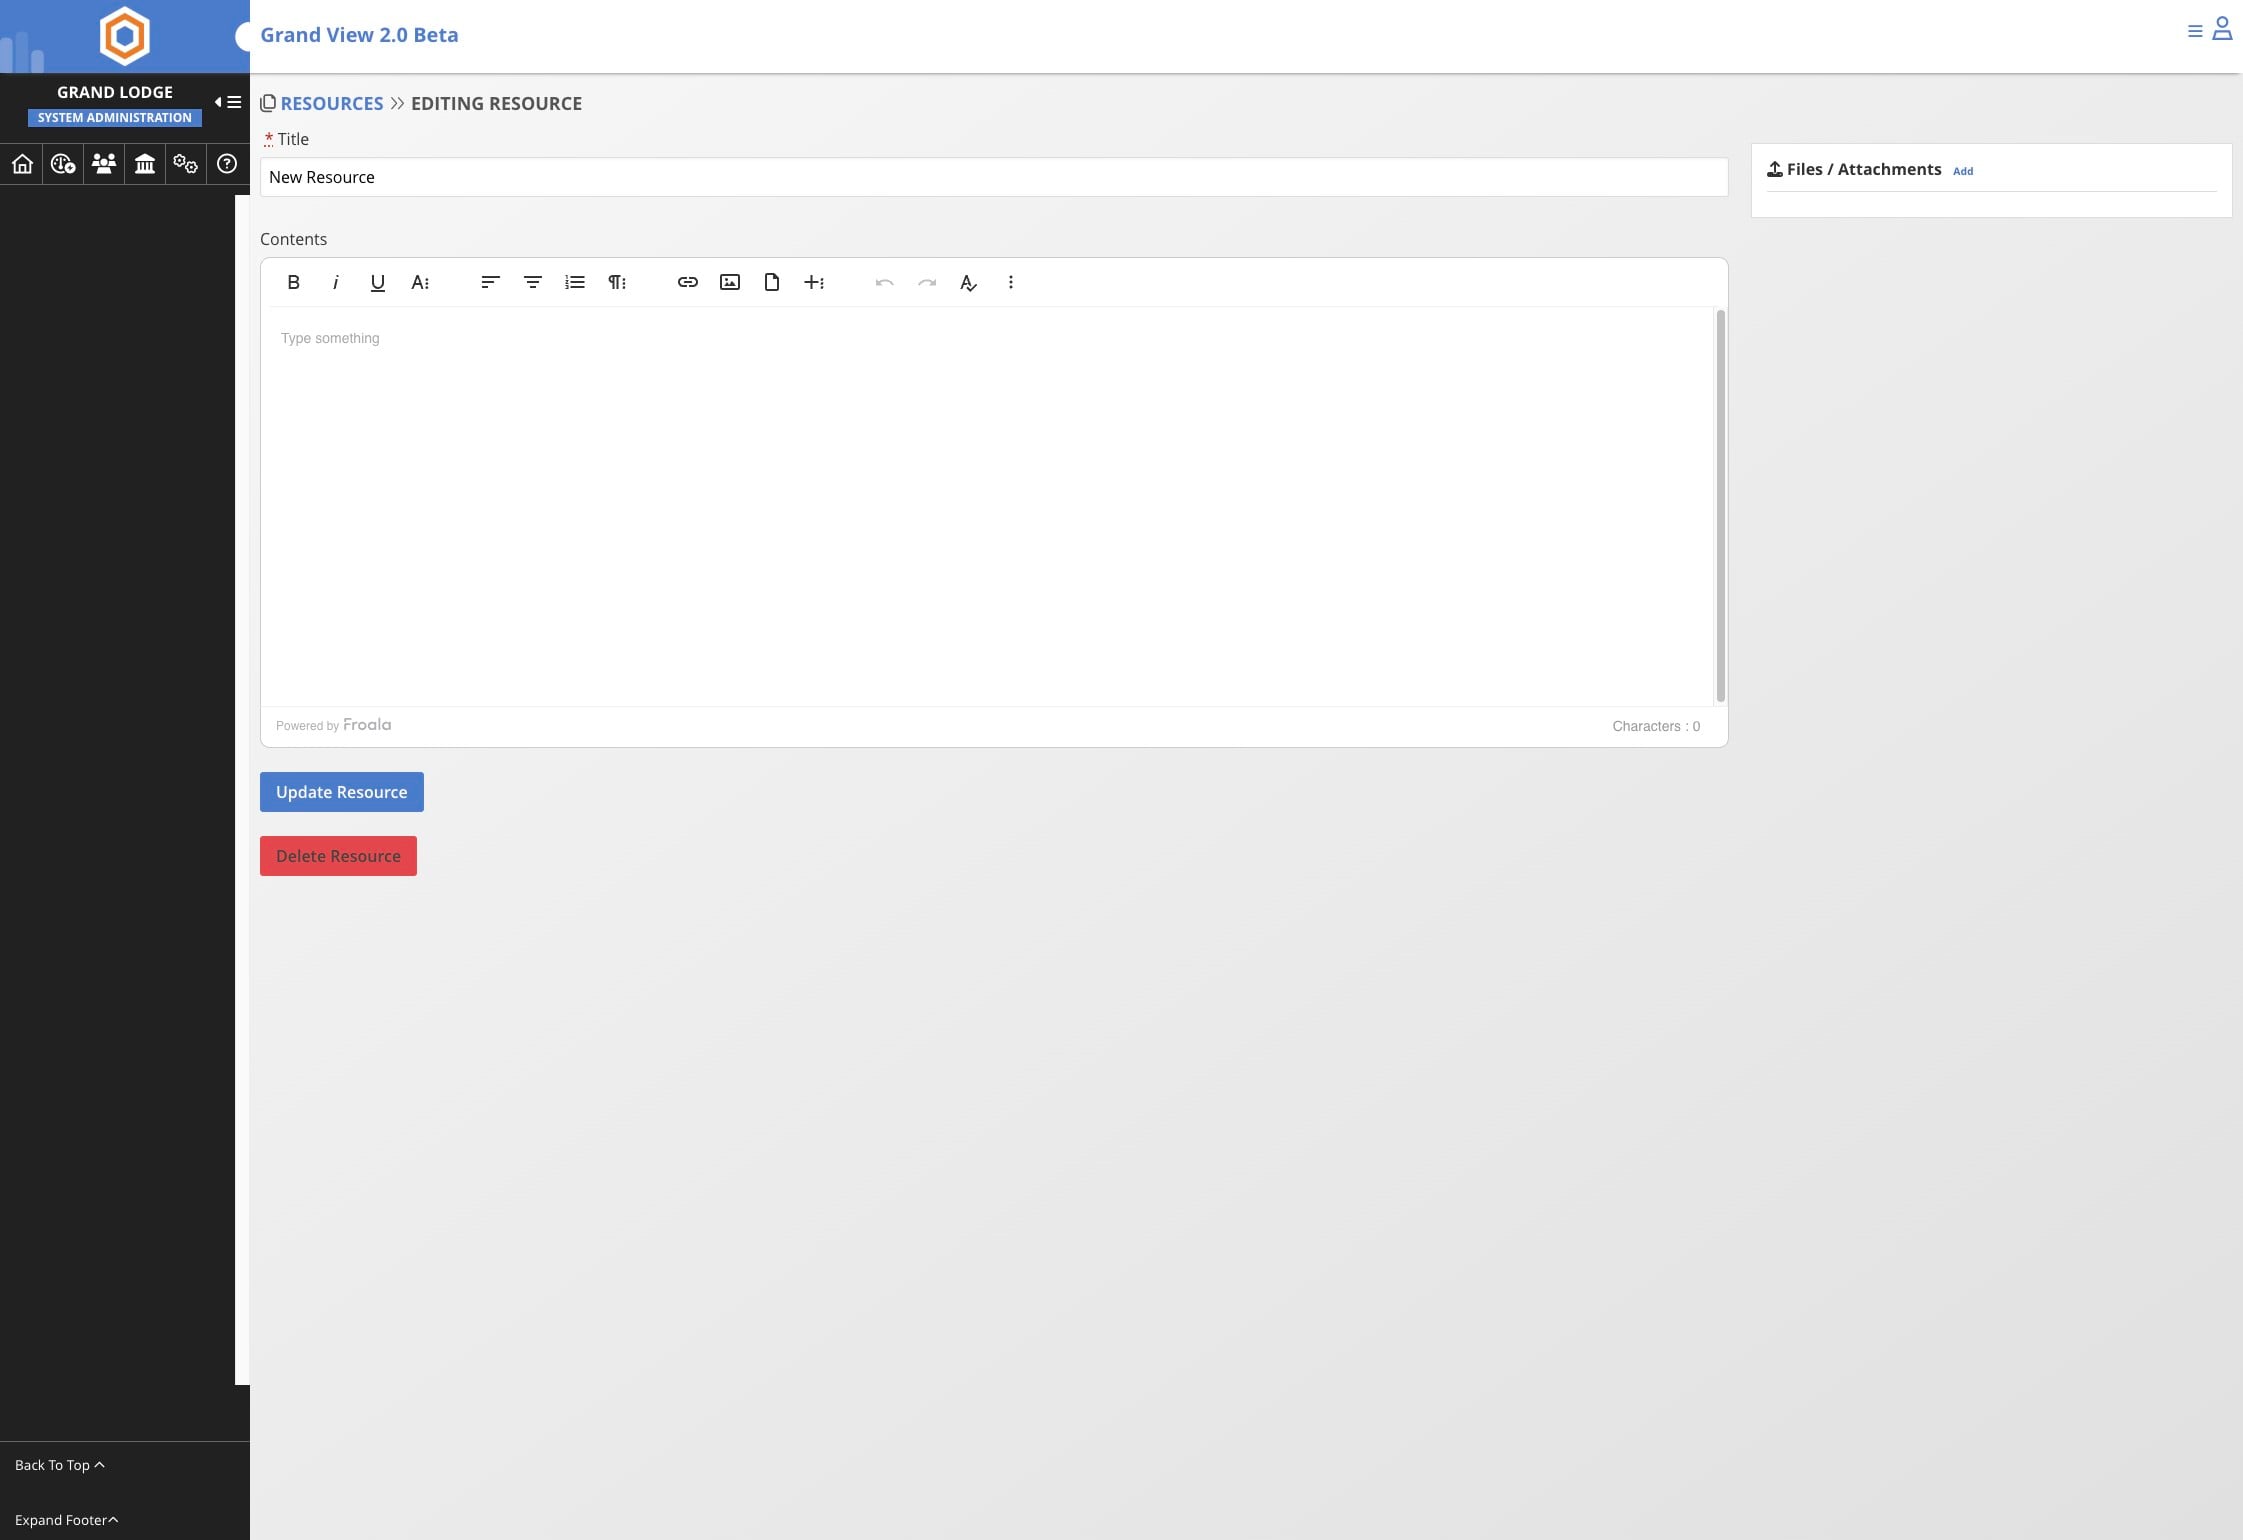
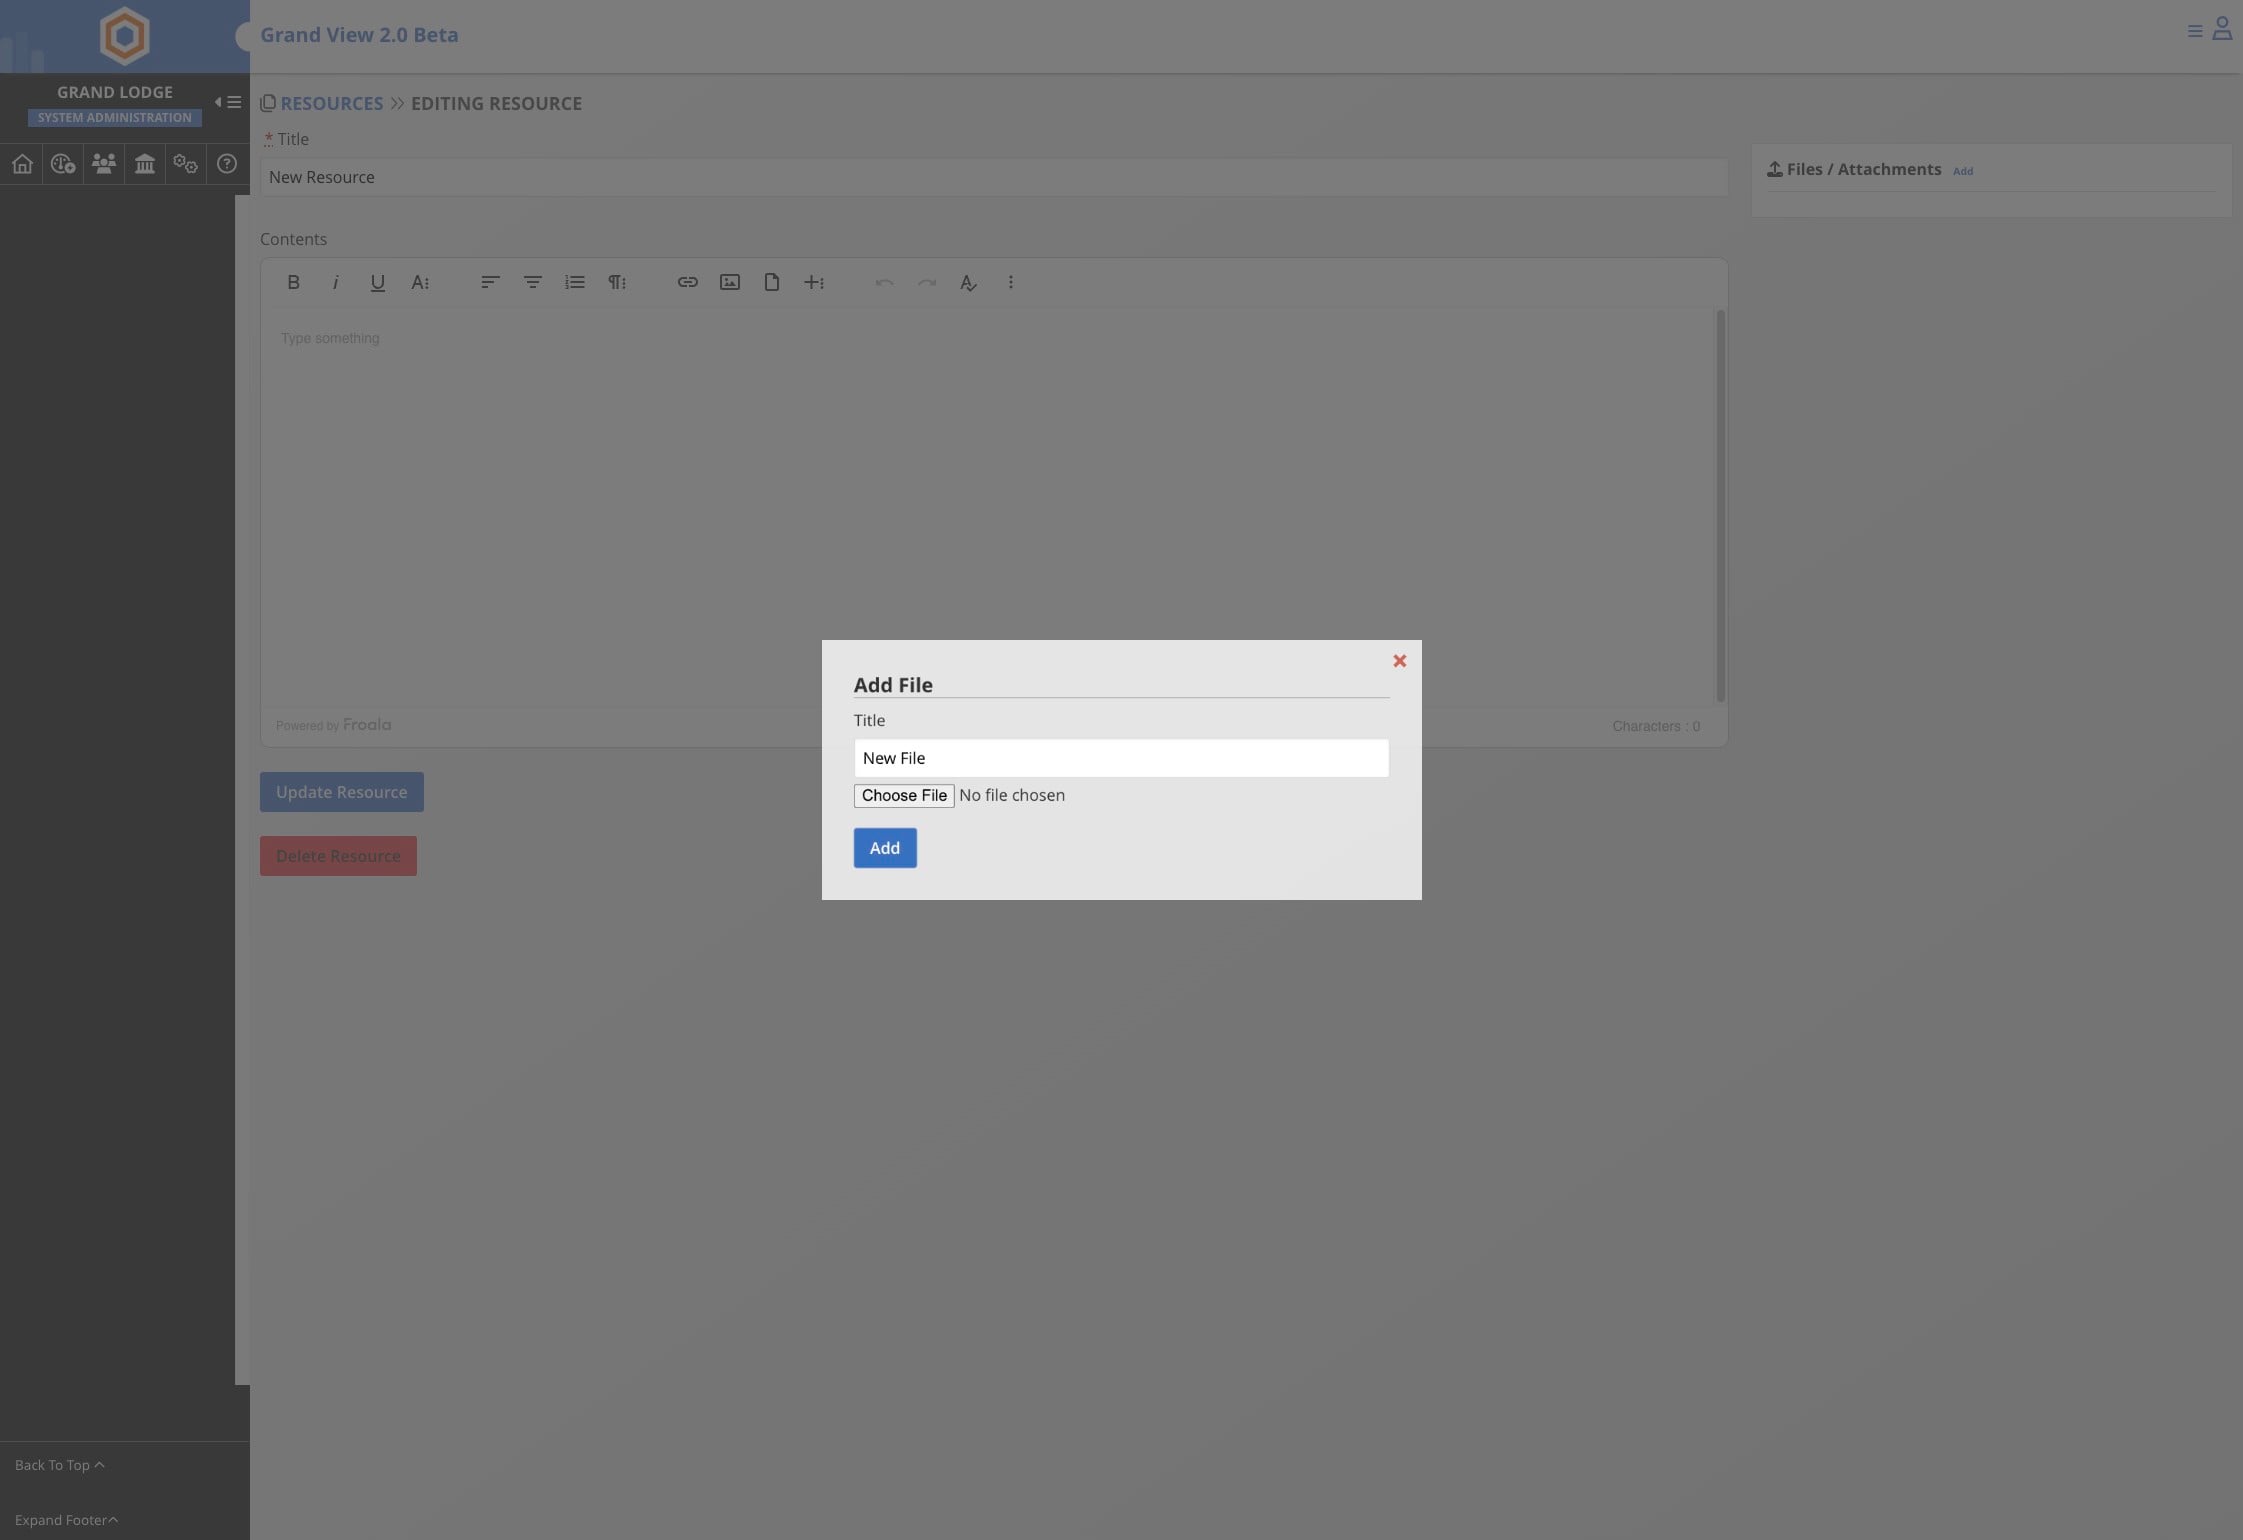
Click Add beside Files / Attachments
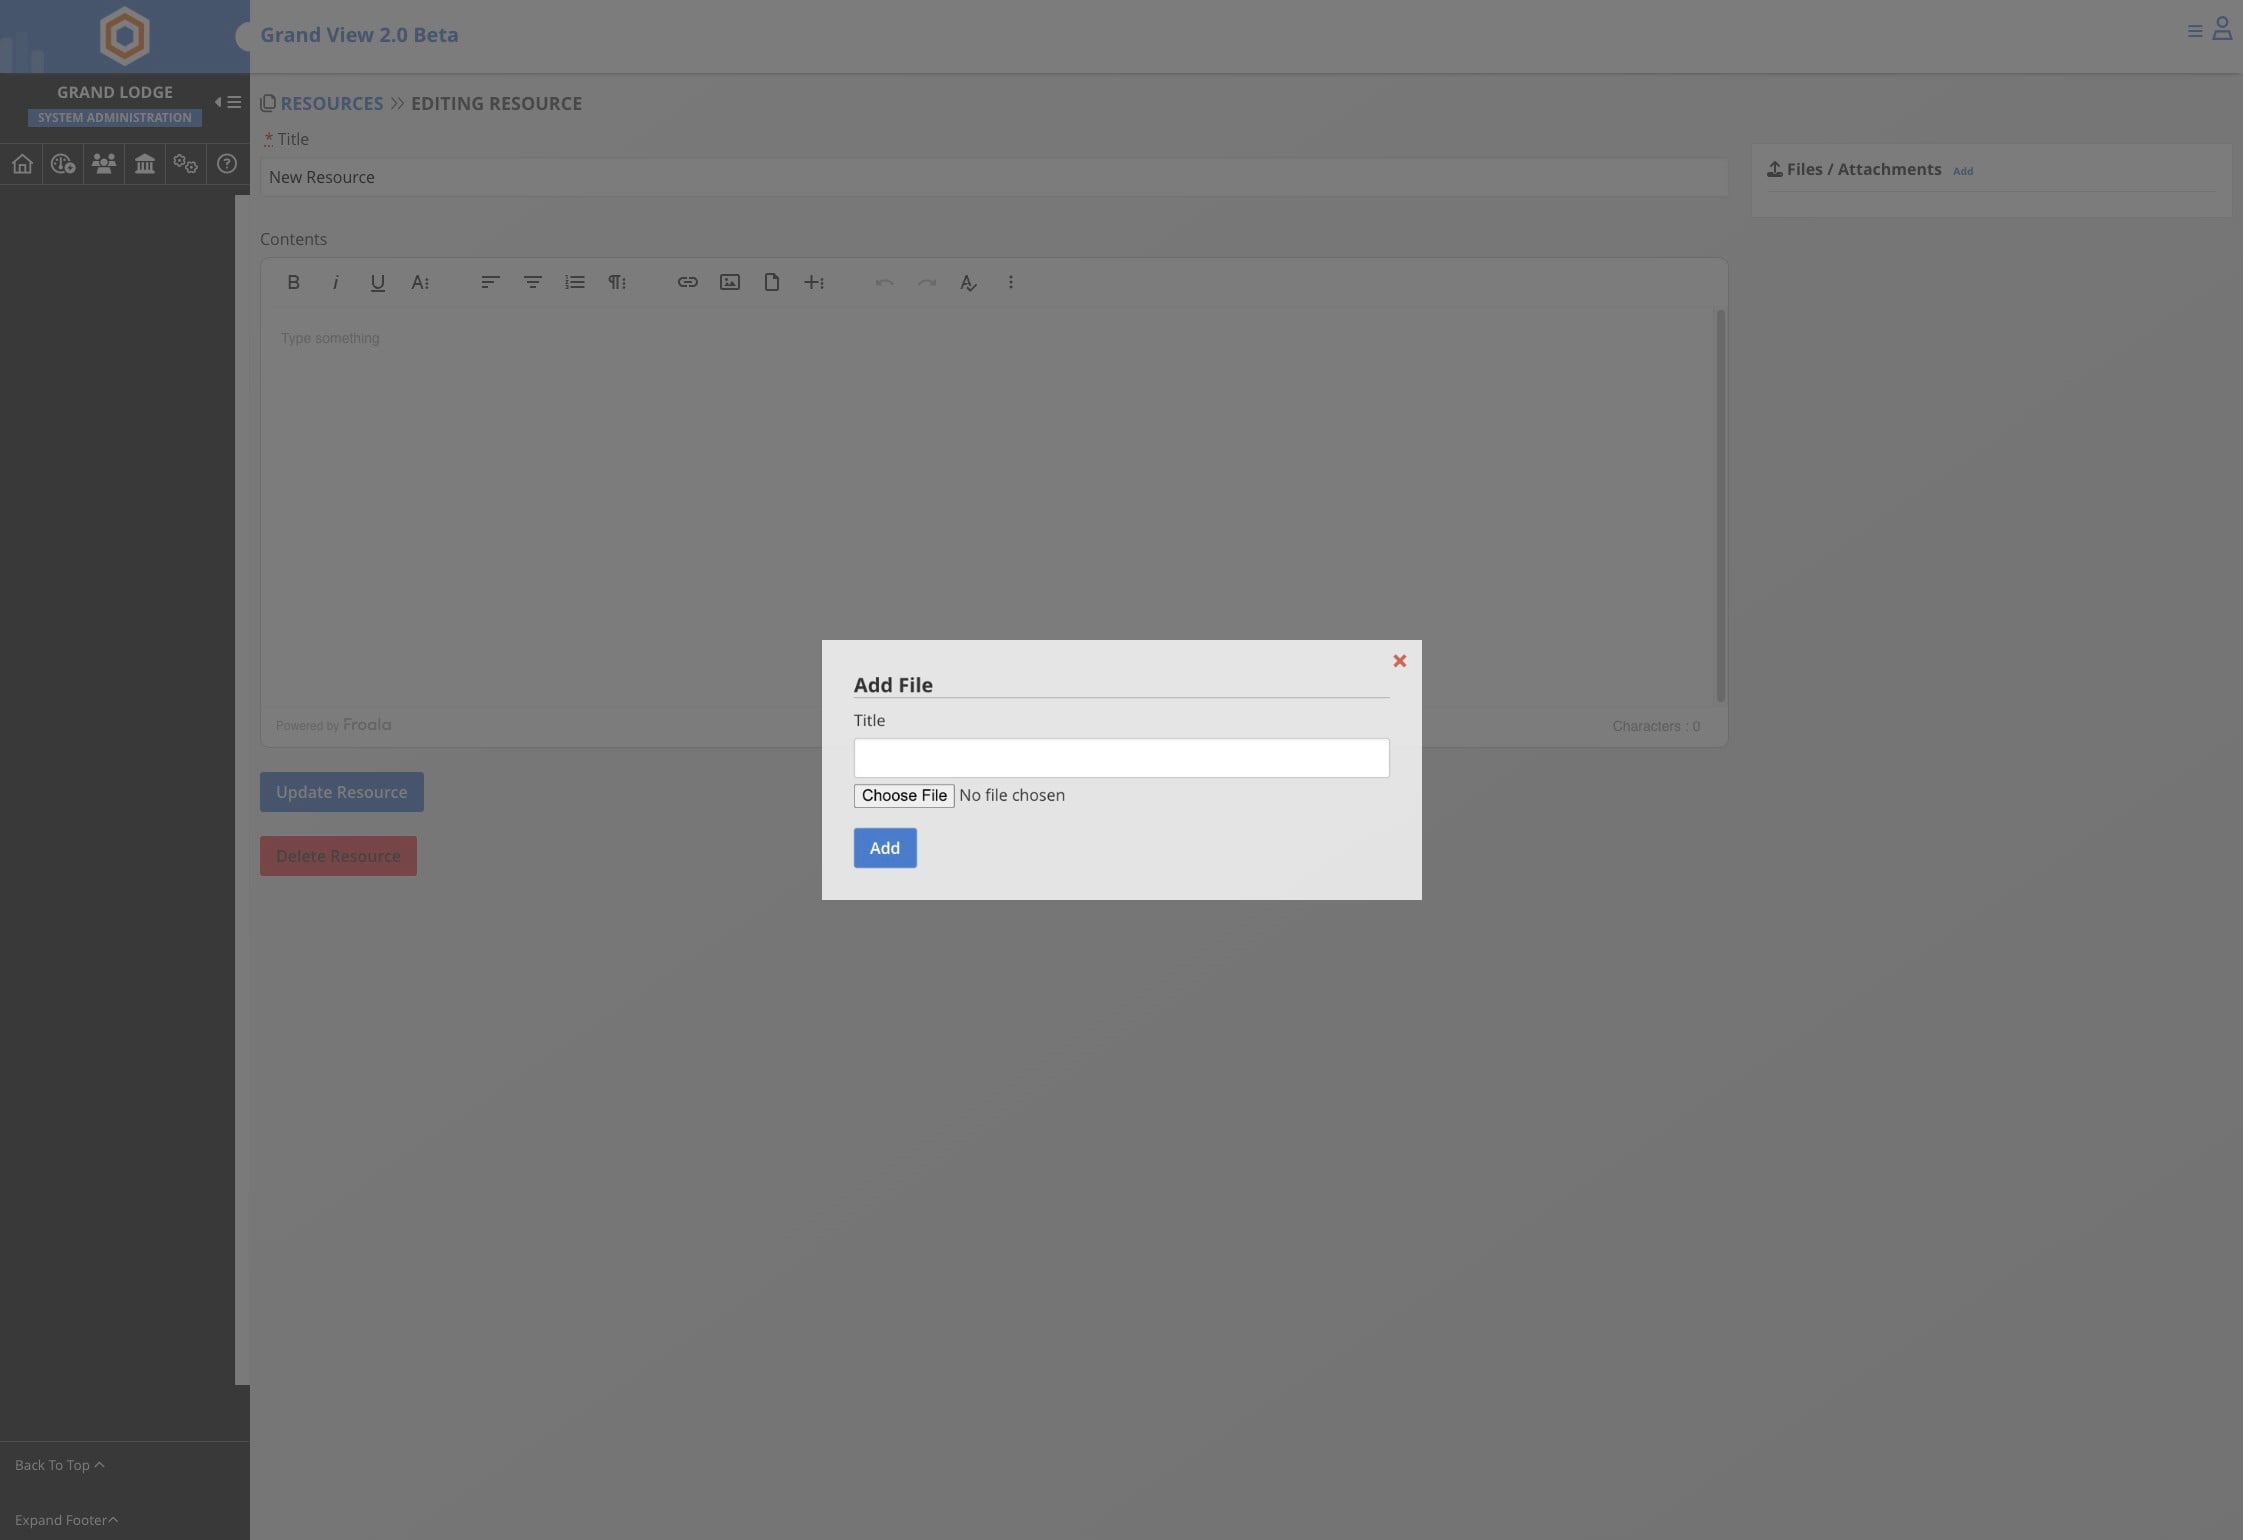
Click the Title field in the Add File dialog
Click Choose File in the Add File dialog
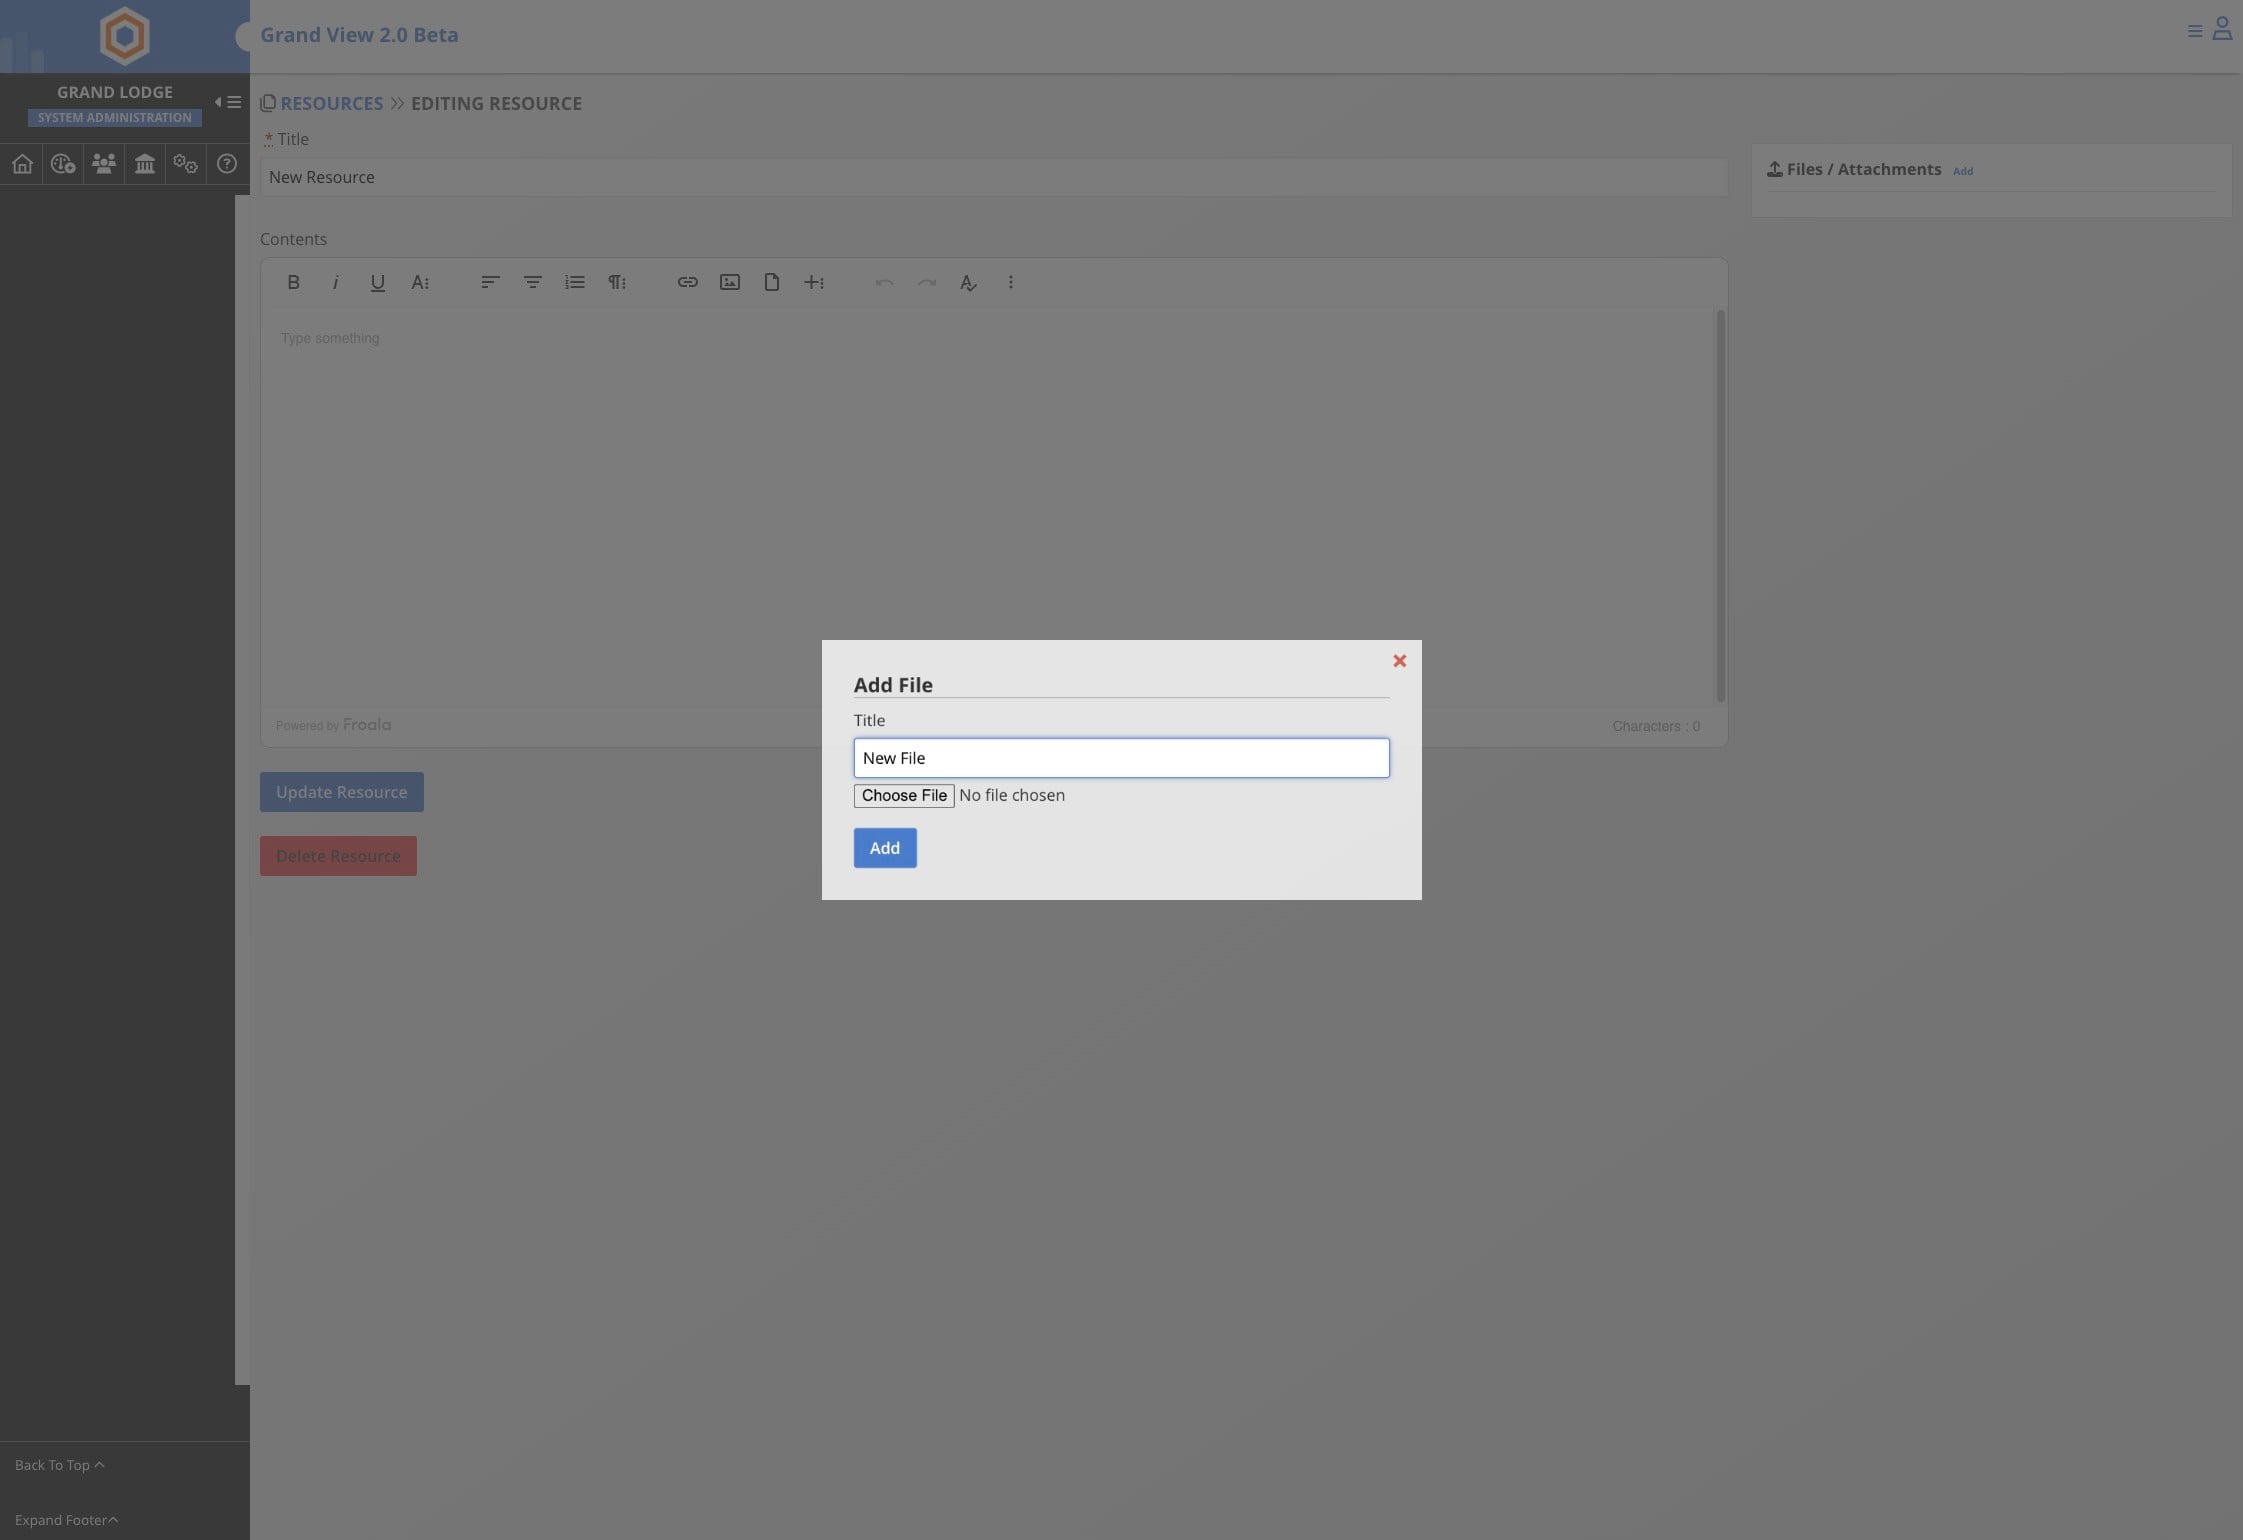
Click Add in the Add File dialog
Click Update Resource
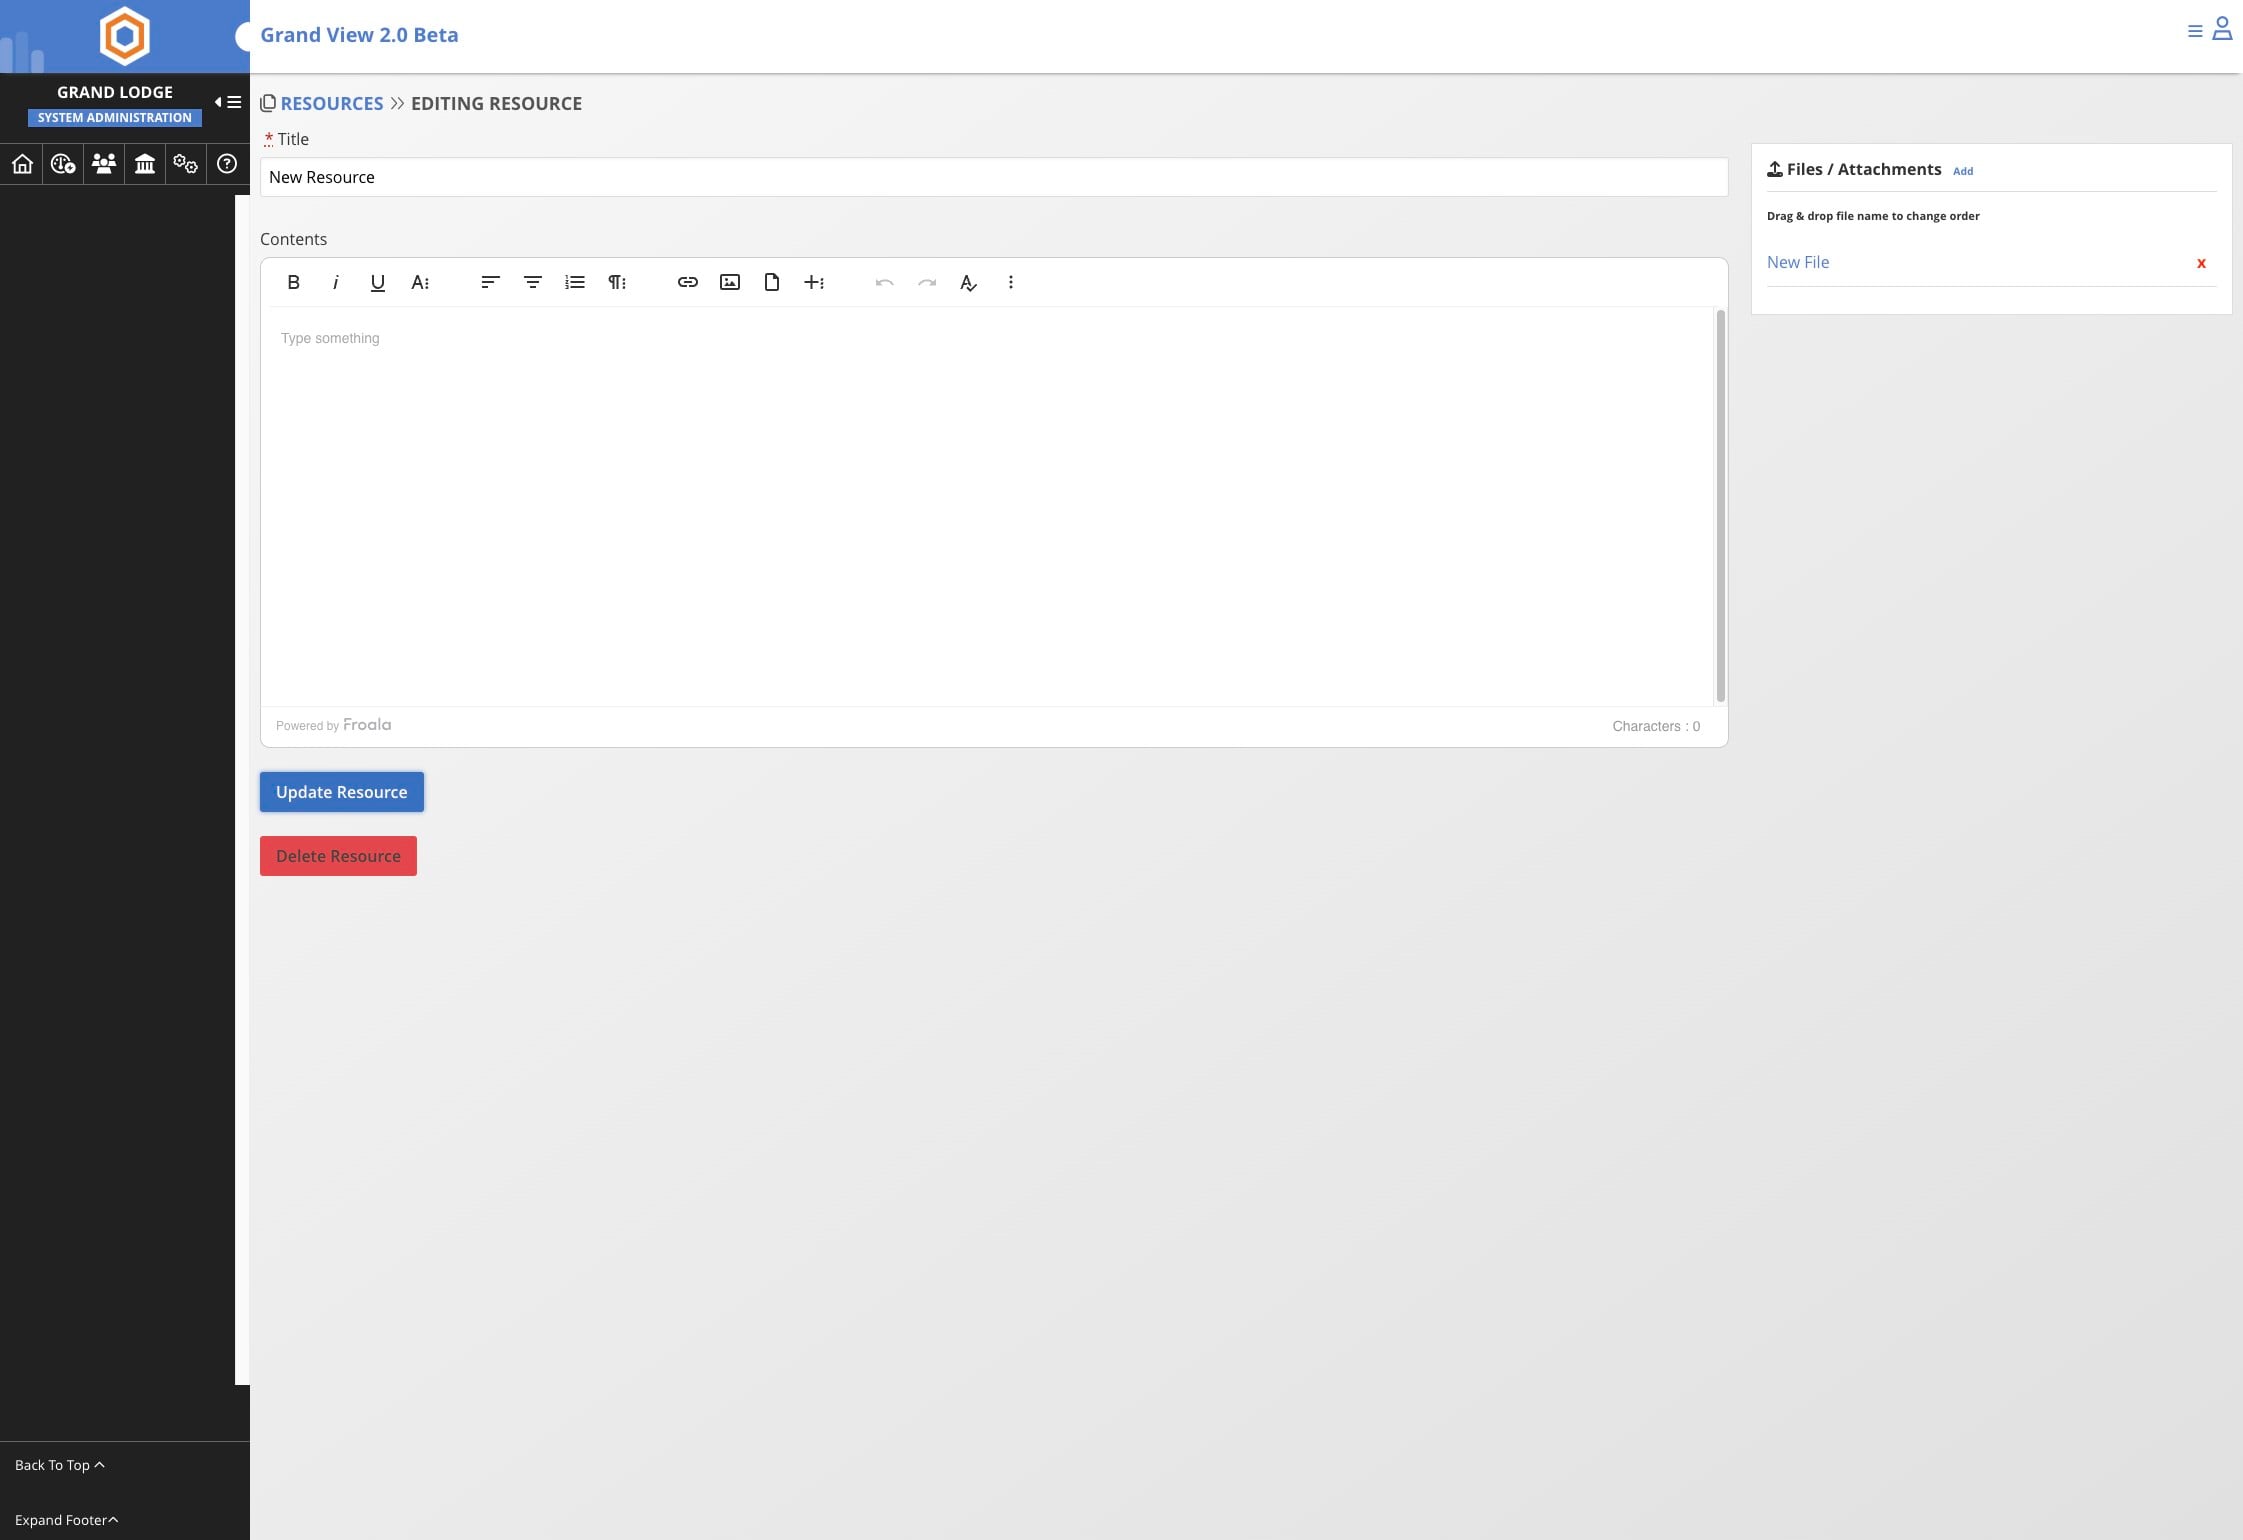
Done 🚀